Taping drywall joints is a bit harder than putting up the drywall itself. However, it can be made easier with the right kind of technique. Let’s find out how to apply joint tape on an installed drywall, avoiding the problems that usually arise.
After you’re done with installing the drywall, the next step is to tape the joints. This process is a part of drywall finishing. It is done to cover up unsightly joint lines that form, when two adjacent drywall panels meet. It will ultimately ensure a smooth, nice finish for the drywall. There are four major kinds of drywall tape―fiberglass mesh, thin fiberglass, metal, and paper. The advantage of using fiberglass tape is that it can be directly pasted over the drywall without the application of a drywall compound, where one can finish the taping job much faster without having to also deal with creases too.
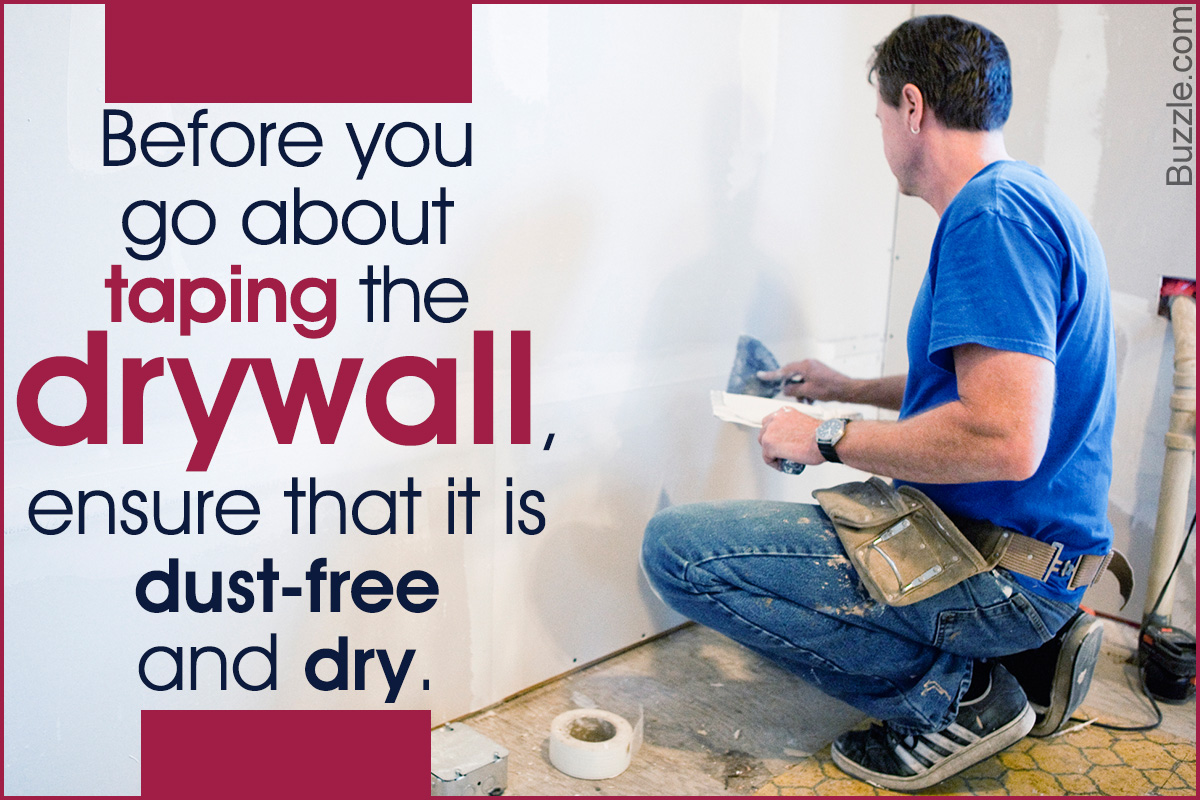
If you go with fiberglass, we suggest using thin fiberglass tape over mesh, since the latter can start to shred. Metal joint tape is the best thus far, but it is a tad expensive. Tape joints do not stick well if the drywall surface is not dust-free and dry prior to application.
How to Use Drywall Tape on Joints?
For proper taping of the drywall, you will need to gather some equipment for the task. These are: Drywall paper tape (the cheapest of the lot), drywall knives of various width, joint compound and medium grit sandpaper. Once you are ready with all these items, follow the taping drywall procedure step by step:
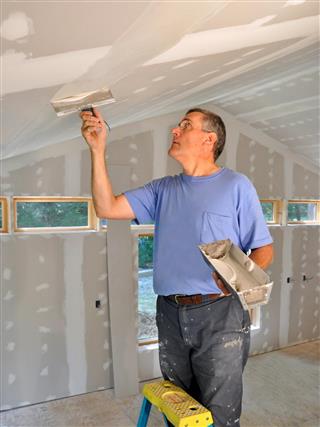
Step #1: First of all, you have to prepare the ready-mix joint compound as per the instructions provided by the manufacturer. Take a drywall knife of 5-inch width and use it to spread the joint compound over the drywall seam, in a thin uniform layer. Spread it on both sides in such a manner where it covers the width of the joint tape.
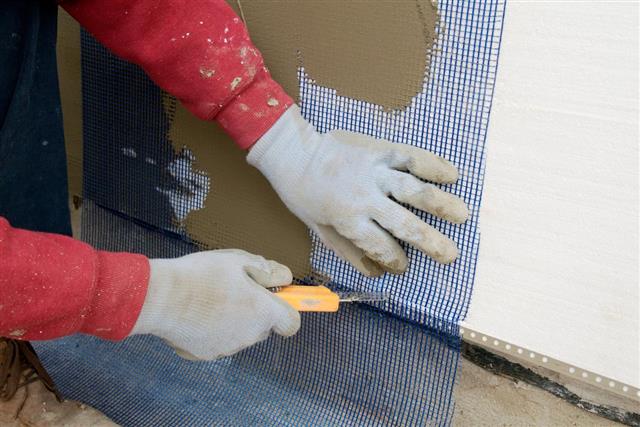
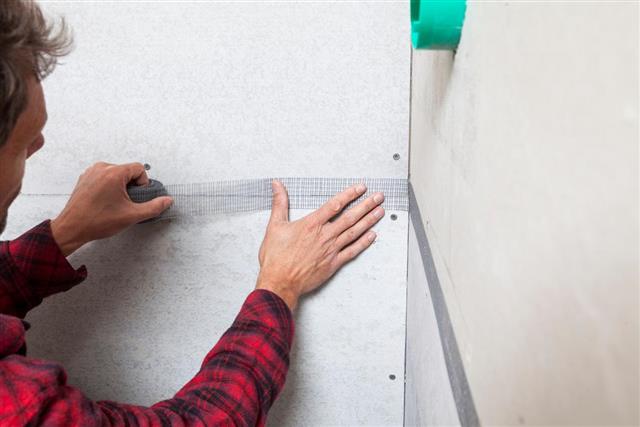
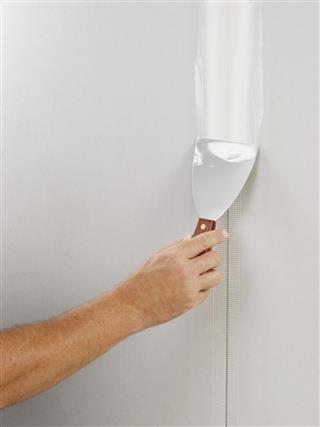
Step #2: Measure the length of the joint and cut the drywall tape according to that. You can take the measurement before applying the mud. Place the tape on the applied compound and press it gently, by moving a drywall knife over it. The excess of compound should come out from below the tape. It will also prevent any air bubbles from forming since these can loosen up the tape in the future.
Step #3: Let the compound present under the tape dry up overnight. Apply a fresh thin coat of compound on the surface of the newly applied joint tape in order to cover it up. Allow this coat to dry up in the next 24 hours, before applying the second coat which should be spread 6 inches on either of its sides.
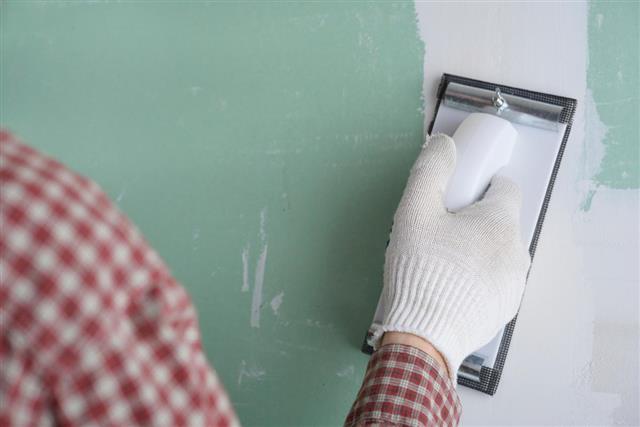
Step #4: When the second coat becomes dry and you find that the tape is still slightly visible, then you’ll need another coat of compound, spread 10 inches on either side. After the final coat of compound is dry, check for any joint compound lumps. If you find any, knock them off with the help of a drywall knife. Sand the rough surface of the compound with a medium sand grit paper to obtain a smooth surface.
Step #5: You have to follow the same technique for taping drywall joints on the flat surface, before proceeding to tape the inside and outside corners. The process of taping the inner corners are more or less the same. Apply the compound on both the sides of the inner corners, evenly. Cut the tape as per the length and fold it half lengthwise, pressing it over the mud.
The one thing that has to be taken care of while placing the tape on the drywall, is that it should be centered properly at the corner. This is why the fold has been made. The outside corners are first covered with metal corners or corner bead instead of tape, before both inner and outer corners are covered with three layers of compound, where each coat is applied only after the previous layer has dried. It is followed by sanding the corners as a final step.
After taping the drywall joints, you have to cover up all the screw and nail heads with mud. Then you should keep the drywall untouched for a week so that the drywall compound has time to dry properly. Lastly, a coat of primer has to be applied which works as an excellent sealant that prevents the paint from getting absorbed into the drywall.
