Do you think it’s time you need to replace your old windows? The following passages give information about installing replacement windows without the help of a professional service.
Home decoration can become an expensive affair considering the cost and budget factor. Replacing old windows and garden fences with new materials was an expensive task. Well, surely not everybody can burn a hole in the wallet and opt for new windows. Installing replacement ones then comes across as an ideal option for people who want a new look and at the same time keep a check on their budget.
A trip to some local shops that stock such materials will probably give you an idea on how to go about this process. There are some points and factors associated with window treatments that you would need to consider.
- Think as per your budget.
- Know the kind of style or material you wish to opt for. It could be vinyl, wood, or composite.
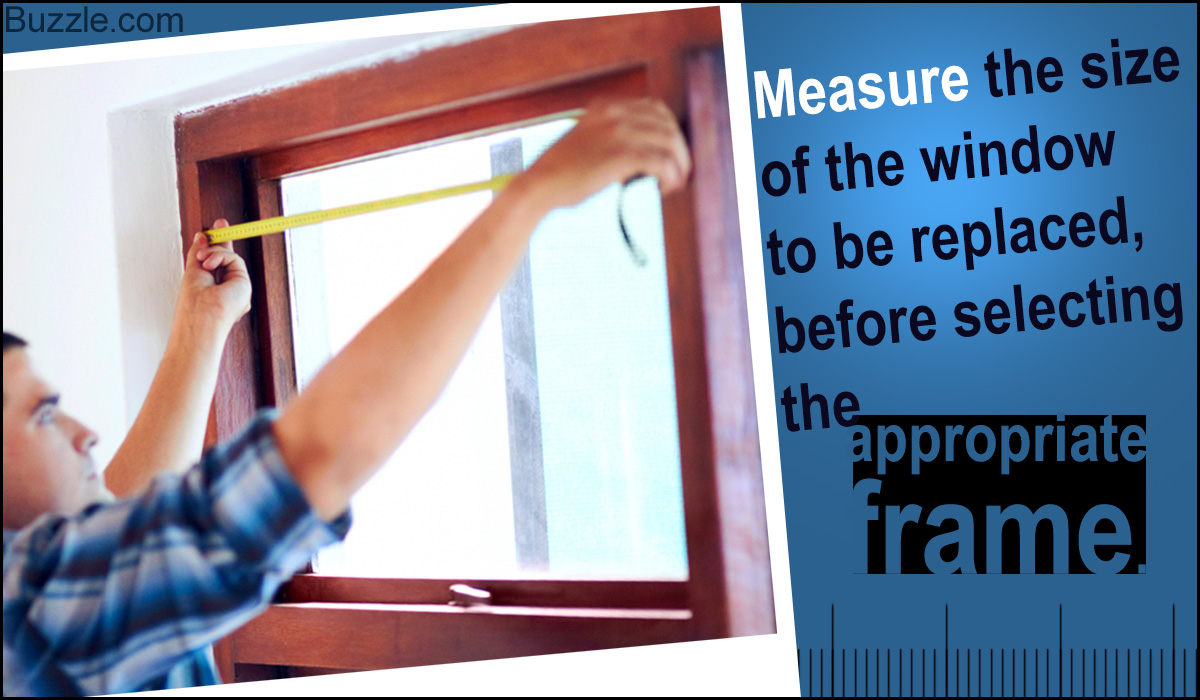
- Measure the size of the window. This will help you to select the appropriate frame.
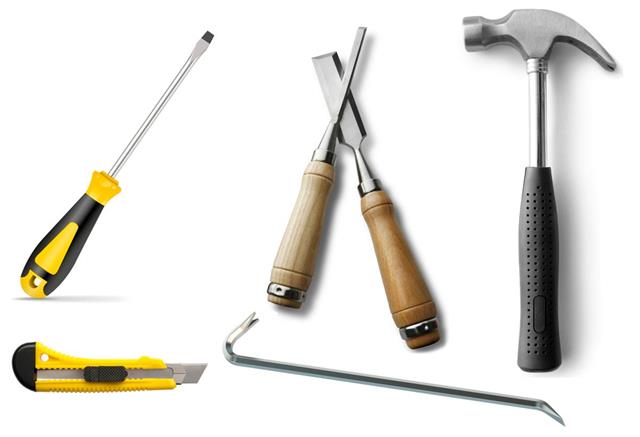
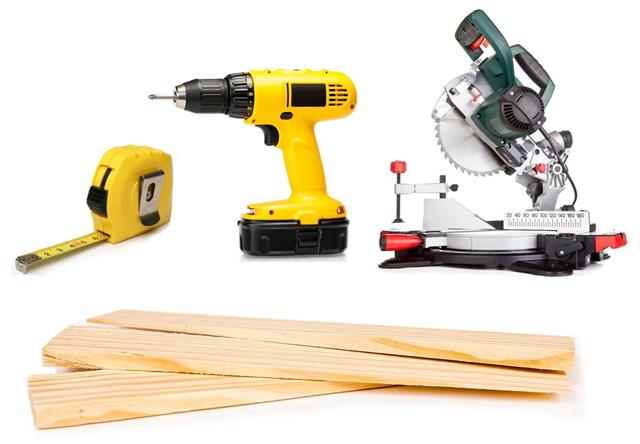
- Gather the materials you will need for this process. This will include, a tape measure, wood shims, a square, miter saw, hammer, cordless drill, screwdriver, wood chisel, pry bar (small-sized), and utility knife.
Steps for Installation
Step 1
Measure the windows from the inside. Run the tape from one side to the other. This will mean you will be measuring the window from one corner of the jamb to the other. Measure all corners in case the windows are particularly old. Once you measure the height and width of the insides of the windowsill, note the smallest measurements. This will be the measurement you need to use for the replacement window.
Step 2
Now, you have to remove the stops and sash. The stops are the vertical pieces of wood used to support the sash. A sash is that part of the window which actually moves. Remove the stops with the help of the various materials, such as screwdrivers, pry bars, and knife. The stops can be set aside and used later on. Now, you need to remove the sash on the inside.
You need to get rid of any cords that may be present there. Next, slide the sash on the outside towards the bottom side. The parting beads can be disposed. These parting beads are vertical strips used for the sash. Remember to keep the stops, which are on the outside in place. You need to clean the insides of the jamb before you install the windows.
Step 3
You need to set the new window in the current opening. This will allow you to understand how it will fit into the space. You have to place the sashes within the new unit towards the center area. The bumper stops should slide towards the center. Now, you need to caulk the stops on the outside and mark the sill angle. You also need to caulk and install the sill angle. Your next step would be to install the expander on the window unit. Caulk the topside of it and secure the expander with screws.
Step 4
You have to now install the window into the opening. With the help of a square, check all the corners. Let an inch of the shims stick out and avoid pushing them in. Shims are like wedges used to drive into the crevices. Also screw in the remaining screws, which are mounted on the top as well as the bottom side. Your next step would be to move the header towards the upper side. Ensure all the gaps are closed. Fix the remaining screws to keep the header in one place.
Step 5
Now, you need to check the installation of the replacement window. Slide the top and bottom sashes in an up and down movement. This will help you to check the smoothness of the sliding panels. For a precise sliding movement, you can also refer to the instructions provided by the manufacturer.
You might have to check the shims if you face problems in sliding. Once you are sure the shims have fitted well, use a saw to get rid of the bits that are protruding towards the outer side. You also need to caulk the inside stops of the window.
With these steps, you can give a new look to your home with minimum expenditure. In case you face a problem with the installation process, you can always ask a friend who has the right know-how on this subject!


