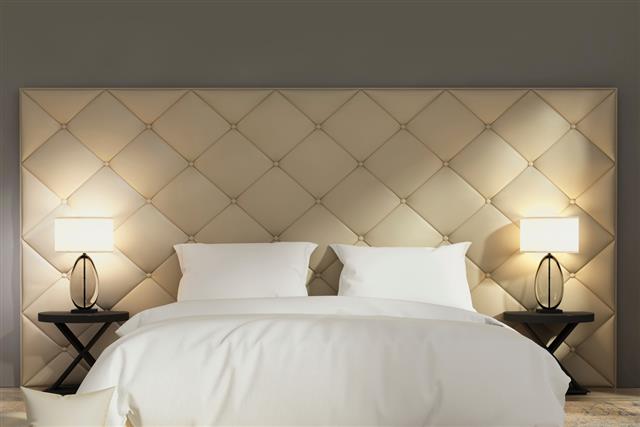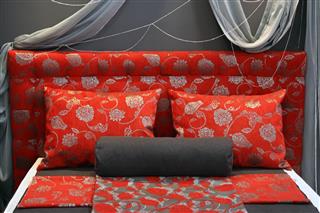
This article has some super simple instructions on making a tufted headboard. So, if that’s what you’re looking for, then all you have to do is read it and see how easy it is to make one.
You know what’s the perfect way to spend a day at home, especially if you’re looking for something productive to do? Indulge yourself in a DIY project that not only makes you happy, but is also useful for you. And we have just the thing for you! How about making your own tufted headboard? Too difficult you think? Well, this DecorDezine article will prove you wrong and you’ll love it! Just read on for a pleasantly surprising tutorial.
Making a Tufted Headboard at Home
All you need is about half a day and the following items:
- Upholstery fabric of your choice (at least ½ more than the intended size of the headboard)
- Buttons for tufting
- Scissors
- Thick needles
- Upholstery thread matching the fabric color
- Plywood for the headboard
- Jigsaw (if you plan to keep your edges curved)
- Batting
- Marker
- Electric drill
- Foam for padding (recommended thickness 2 inches)
- Staple gun
Once you have gathered all the material, all you have to do is follow the extremely easy instructions given below. Have fun!
Step #1
For this article, we’re assuming that the edges of the headboard will be curved. So, take a piece of paper, place it on the edge of the headboard and make a stencil of how much curvature you would like. Mark it out with the marker onto the plywood.
Step #2
Now, use the jigsaw to saw off the curves that you have marked out. Your headboard now has curved edges.
Step #3
After you have the shape ready, you need to mark off the spots where you want the buttons to go. Measure the length of the headboard and keep them at equal distances. Mark them with the marker. Now, use the electric drill to make holes right through the plywood at these spots.
Step #4
Next step, lay the foam that you have onto the plywood and cut it out in the shape of the headboard. Then, place the batting onto the foam and secure it onto the plywood, along with the foam using the staple gun.
Step #5
The next thing that you must do is lay out your upholstery fabric on this rudimentary headboard. Pull it tightly and begin stapling it onto the foam and batting, right through to the plywood. Make sure that the fabric is taut and there are no creases as you do this. At the edges, you can fold the fabric in a neat manner and carry it onto the adjoining side. This way, the entire headboard must get covered with the upholstery fabric.
Step #6
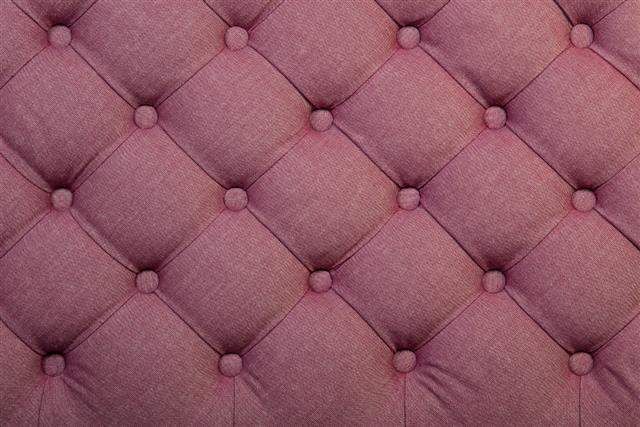
Now comes the main part – tufting the headboard. Take the buttons and cover them with pieces of the upholstery fabric. Leave some fabric under the button.
Step #7
Next step, take your upholstery thread and put it through the eye of the thick needle. Now, turn the headboard over and locate all the holes that you have marked for the buttons. Take your needle with the upholstery thread and insert it in one of the holes and bring it out on the other side of the fabric. Now, take your button and insert your button through the excess fabric. Tug until the button is flush against the fabric of the headboard.
Step #8
Again take your needle on the other side of the board, through the hole and bring it this side again. Do this three to four times and then wind the thread around the button to fasten it even tighter onto the upholstery fabric.
Step #9
Continue doing this until you’re convinced that the button is tight enough and won’t fall off and then tie a knot and cut off the thread. Repeat the tufting procedure with all the other buttons. Now all you have to do is make a couple of holes and hang it on hooks right above your bed.
See how easy it is to make a tufted headboard? That’s not all. You can go through some DIY headboard ideas to find something that suits your tastes if you’re looking for something interesting to do with your headboard. Good luck!
