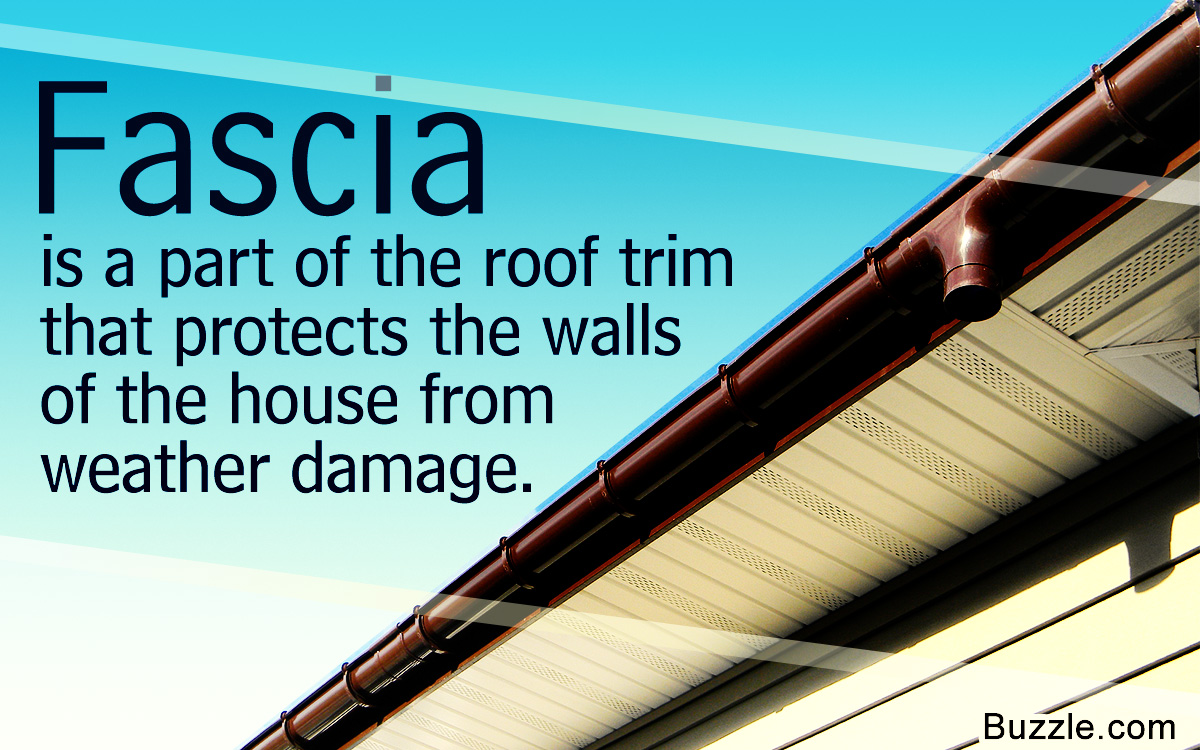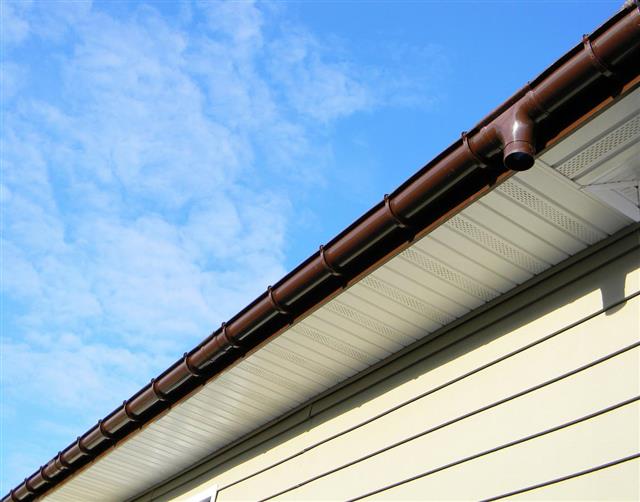
Fascia board not only makes the roof have a smooth appearance but also serves as a shield to protect the roof and the inside of the house from damage. In this article we will see about the function of the fascia and how it can be installed.
Roofs are an essential part of every shelter. Without roofing one can imagine the plight of the interiors of a house. Fascia is a part of the roof trim, which is mounted on the houses, especially, on the rafters. The main purpose of the roof trim is to protect the exterior walls of the house from the damage caused due to change in the weather. Most of the houses install fascia board while construction. Mostly fascia material consists of wood, aluminum, fiber cement and even vinyl. This roof trim is installed in such a way that it acts as an attachment point for the rain gutters, along the roof. Fascias are a value addition to every house as it acts as a shield to protect the walls from damage. You can take the help of a professional or can even install it yourself.
Fascia Board Installation Guidelines
Fascia board is one of the types of roofing which protects the walls of the house from weather damage. The board size should be such that it should cover the perimeter of the roof. Given below are some instructions regarding the installation of the board. By fulfilling this task yourself, you can save on the installation cost.
- Before getting to the task of installing the fascia on the roof of your house, you need to purchase the necessary paraphernalia from any hardware store.
- For the installation you will need equipment like the fascia, compound miter saw, table saw, crimper, clamps, power nailer, chalkline and plane etc. These tools should be kept at hand’s reach to avoid running for them every time you need to use these tools.
- Measure the roof and mark your measurements with a chalk line. Install a protective covering or sheathing for the boards. Once you have done this, fix the soffit to the sheathing. To secure the board to the roof, you may install a few extra boards behind the door frame. These are made of lumber and are called sub fascias.
- Determine the size of the eaves depending on the type of roof you have. After installing the soffit, with the help of a hammer and nails, stabilize the board to the roof joists. If you have a tiled roof, make sure that the boards are secured firmly to prevent them from collapsing.
- If you have installed wooden fascias, then painting it can be a good idea as a part of maintenance. This will not only help in preserving the board but also add an elegant touch to the appearance of your house.
- You can choose different colors that match the exterior paint of your house. The choice of paint colors can make your house stand out from the rest of the houses in your locality.
- With the help of a brush, apply a coat of primer all over the board. The primer will function as an adhesive and prevent the paint from peeling.
- The paint primer should be completely dry before applying paint, hence, allow it to stand for one day. After the primer has dried, apply a fresh coat of paint evenly on the roofing. Wait for some hours before applying the second coat of paint.
- In case of old boards, scrape off the old paint and clear any chips on the board before painting. Seal the holes and remove the rotten parts. Painting will help in increasing the longevity of the board and also improve the looks of your house.
Since this part of the roof is exposed to the external elements like sun, rain and snow, there are chances that they may get damaged or rotten (in case of wood). Hence, fascia board replacement and routine maintenance should be a priority that will keep the fascias in a good condition.


