With adequate help, the right materials, and guidance, you’ll be able to install drywall on your own! Let’s take a look at how to install drywall with the following techniques.
A drywall board is made of a layer of gypsum plaster which is sandwiched between two thick sheets of paper or fiberglass. It is available in the form of large sheets with varying degrees of thickness. Today, drywall is a much more popular choice over plaster walls. It covers up imperfections really well, and is fireproof and water resistant too.
To improve the visual appeal of any interior space, you can apply textured effects or paint over it. The cost of drywall materials isn’t all that expensive, ranging between $300-400 for a 600-square-foot space. However, the cost of installing drywall is much higher than the cost of materials. Therefore, if you take up the task on your own, you can save on the costs.
Drywall Installation Instructions
Select a drywall of suitable length and thickness (standard size: 4 x 8 feet, thickness: ½ inch thick for walls, and ⅝ inches for ceilings). Thinner varieties with a thickness of one-fourth of an inch, are more suitable for walls. Keep the longer side of the sheet in a floor-to-ceiling position, and it will give you a minimum number of joints to work with. Other tools and materials needed―drywall screws, drywall tape, fine grit sandpaper, joint compound, drywall saw, utility knife, drywall lift, T-square, trimming knife, and hammer. The main steps are as follows:
Preparation
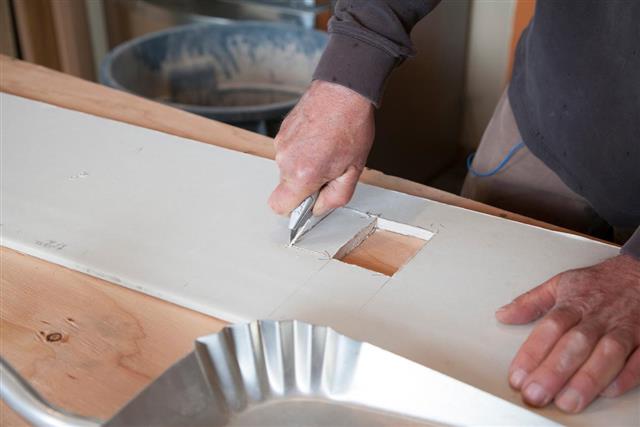
You have to first make holes on the drywall for electrical outlets and fittings. Take the measurements of these items and mark their positions on the drywall, before cutting it. Use a T-square (drawing tool) and a trimming knife, to score the drywall as per your requirement; one side of the drywall should then come apart along the scored area. Now, take a sharp knife and cut the other side of the drywall and use sandpaper to smoothen the rough edges. Another important preparation step is installing furring strips on the ceiling, to level it out.
Ceiling
For your convenience, use a drywall lift to raise the drywall sheets to the ceiling. Take the first sheet to any one corner of the ceiling, put it lengthwise on the joist, and affix it with nails. The nails should be spaced apart by 6 inches. Then take the next drywall sheet and install it by following the same technique. Continue until the entire ceiling area is covered.
Walls
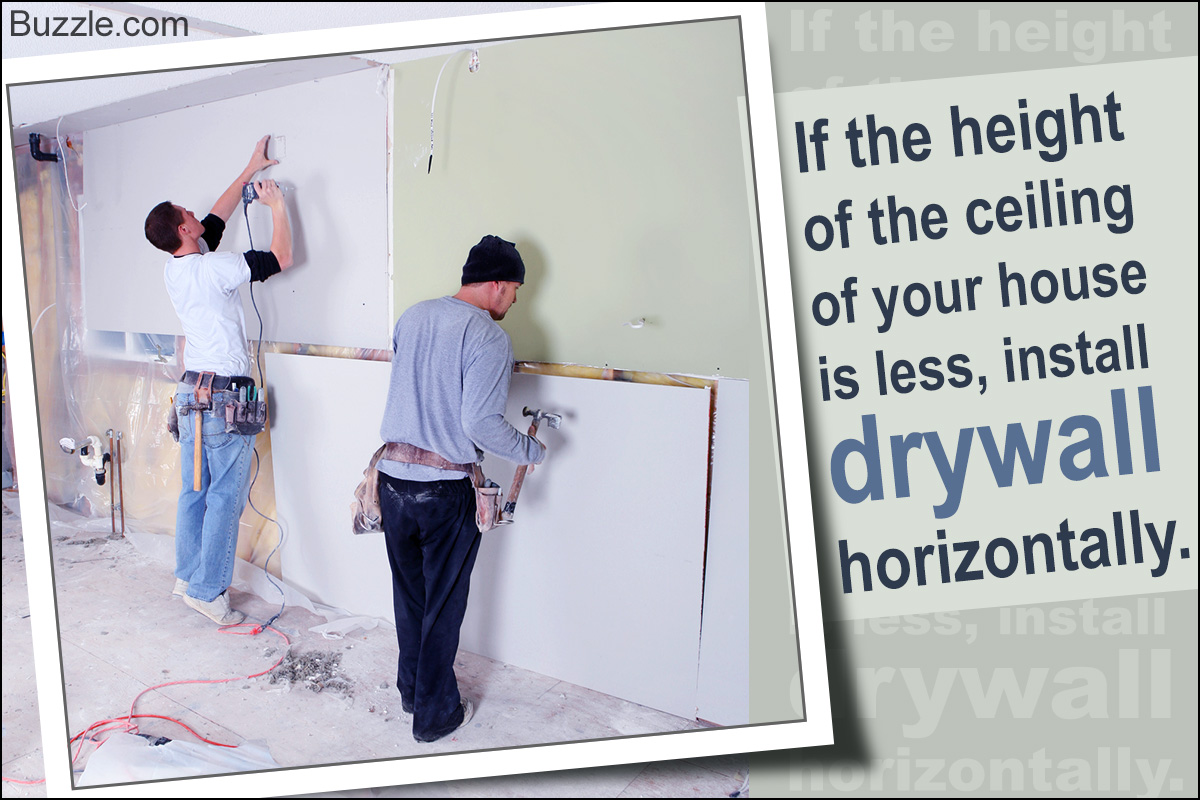
Drywall can be installed on the walls horizontally as well as vertically. If the height of the ceiling is less, then it is advisable to install drywall horizontally. This will keep the number of drywall joints to a minimum. For a room’s ceiling with a height of more than 8′ 5″, vertical installation is advisable. While installing horizontal boards, hang the upper panels first. Hold the first drywall board against the ceiling and secure it firmly to the wall stud. Then, fix nails to the studs spaced apart by 7 inches, in order to further secure the board. Follow the same technique to install the remaining boards.
Finishing Drywall Joints
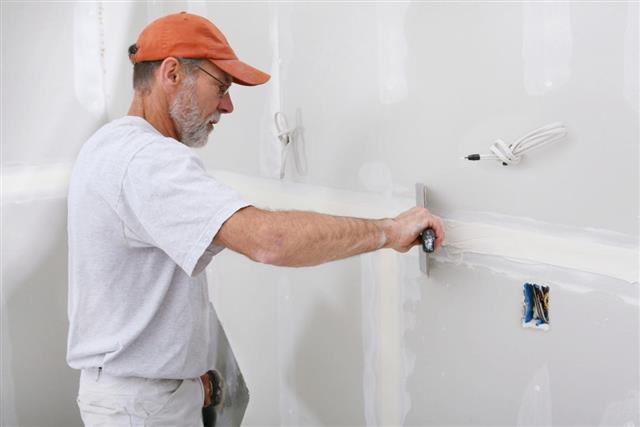
After hanging the drywall, you will find that the areas near the drywall joints have an uneven surface. Finishing a drywall is important to level out these areas. Cover up the uneven surface of the drywall seams with joint compound, followed by cutting a piece of drywall tape as per the length of the joint, and placing it over the applied joint compound. Apply a thin layer of mud over the tape and allow it to dry overnight. Similarly, all the holes formed after inserting the nails should be filled with mud. After 24 hours, apply the next layer of joint compound and spread it over a 10-12-inch-wide area, and let it dry.
You have to apply three coats of joint compound before you can consider the job close to done. Once the joint compound is cured thoroughly, you have to sand the drywall with fine grit sandpaper to smoothen the coarseness of the mud. Finally, secure the outside corners with metal corner beads; attach these to the underlying wall stud with nails and finish this off by applying a layer of joint compound over it.
Once the drywall is installed, you can then apply primer before painting over it. Do not use screws or nails on a drywall to hang up pictures or install floating shelves, since the holes will widen up in no time from not being able to support the weight. Installing drywall anchors is a safer option, that stays put without causing significant damage.
