Do you want to make Bahama shutters by yourself? If you do, there are several things you should keep in mind. DecorDezine will not only show you how to make Bahama shutters and install them, but will also give you important tips along the way that will make your task easier.
Did You Know?
Installing Bahama shutters can cut down on your electricity bill. They allow cool air to enter while keeping the hot sunrays out, thus reducing the need to use air conditioners. This mechanism also protects the carpets and furniture from strong sunlight.
Bahama shutters, or Bermuda shutters, are shutters that are installed outside windows for protecting them from flying debris during hurricanes. They also serve other purposes, like keeping out strong sunlight, while allowing entry of optimum light and proper ventilation. These shutters are common in the Southern US states, while being rarely used in the North.
This kind of shutter is attached by hinges to the top of the window, and it is held open by an arm or rod attached to the window frame near the bottom, giving pleasant shade. On closing, the shutter fits compactly over the window frame. Let’s have a look at all the important things you have to keep in mind about making and installing Bahama shutters.
Imp: First make sure you know and complete all the legal obligations before installing Bahama shutters. You need to know the building codes of the region to meet the required specifications. A common requirement in most places is that, the Bahama shutters must lie in line with the building frame on closing.
Steps to Make Bahama Shutters
STEP 1: Take the inside measurements of the window frame using a measuring tape.
Tip: Taking incorrect measurements will not allow the shutter to fit over the window properly.
STEP 2: Make estimates of the material required.
- Hinges, bolts
- Cedar wood or preserved hardwood
- Louver slats
- T-square
- Router
- Drill and drill bit
- Mortise tool
- Varnish and wood glue
- Sandpaper
- Corner clamps
Tip: Choosing good quality wood is crucial for hurricane protection. Cheap wood may look good, but will not be able to protect your windows.
STEP 3: Cut rails (vertical pieces) and stiles (horizontal pieces) from the wood.
Tip: Make the bottom stile extra wide for support.
STEP 4: If you want the shutter to have more than one mullion, then take measurements between the stiles for the mullions.
STEP 5: Cut out the mullions keeping in mind the above measurements.
Tip: Make sure to keep an extra inch on each side for the tenons.
STEP 6: Cut mortises in the rails for the tenon of each louver to fit into.
Tip: Make the stiles at least an inch longer on each side for the tenons.
STEP 7: Make sure you cut mortises in the stiles for the mullions too.
Tip: Check the level of mortises by placing the rails side by side.
STEP 8: Cut tenons along the outer ends of the stiles.
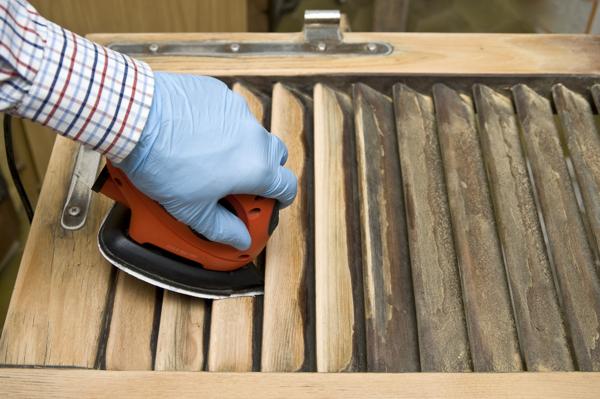
STEP 9: Rub the corners, top, and bottom surfaces of each rail with sandpaper.
STEP 10: Dry-fit the louvers into the rails. Sand the surface and then apply varnish for waterproofing.
Tip: Proper varnish application is very important. If certain parts of the wood are left bare, moisture entry may occur, causing decay.
STEP 11: Remove all the shutter parts and glue them together. Apply corner clamps on the joints and leave them overnight for better adhesion. Remove the clamps in the morning.
Steps to Install Bahama Shutters
STEP 1: Collect the required material.
- Drill and drill bits
- Screws
- Hinges
- Open rod/Bahama arm
- Rubber pieces, 2
- L-shaped pin
STEP 2: First check if the build-out-frame and the shutter panels are a perfect fit with the window frame.
STEP 3: Mark the center points on the vertical and horizontal sections of the frame, and drill holes at each point.
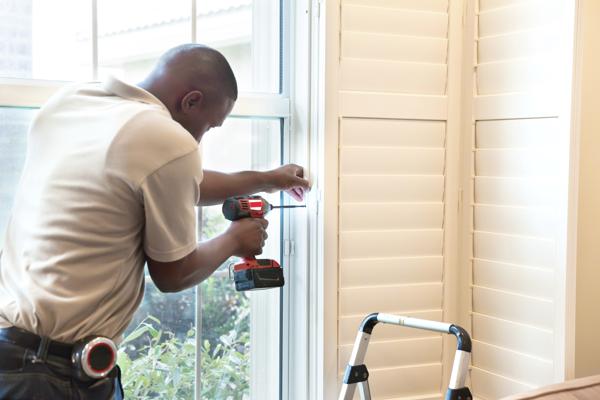
STEP 4: Affix the shutter panels on the build-out-frame using appropriately sized screws.
STEP 5: Place the hinges for the Bahama shutter on the top of the window frame and secure it using screws.
STEP 6: Insert the top of the shutter frame into the socket of the hinges and lock it in place.
STEP 7: Attach 2 rubber pieces to the bottom corners of the shutter.
STEP 8: Drill a hole into the shutter at the point where you want the open rod to fit. Using a threaded bit, create a threading in the hole.
STEP 9: Insert the open rod into this threaded hole.
STEP 10: Using a drill, make a hole for inserting a camel bracket in the window frame. This is for the open rod/Bahama arm.
Tip: The higher the bracket, the farther the arm will keep the shutter on opening. The most common and suitable point for attaching the bracket is at the bottom.
STEP 11: Insert the open rod into the camel bracket using an L-shaped pin. You have now successfully installed the Bahama shutter on the window.
General Tips
- You can paint the shutters to create a beautiful contrast between the shutters and the windows.
- It’s important to design the shutters to withstand high-speed winds.
- You can make the shutter from other material as well. The ideal material for use depends on the region and season.
- When buying Bahama shutters, make sure they are storm-rated.
- Wooden Bahama shutters are not designed for very heavy storms.
- Self-installation will help you cut a lot on costs.
- Bahama shutters are not to be used on doors.
With the above steps and tips, you can easily make and install Bahama shutters at home. Keep your limits in mind, and if you are not imaginative or are not very good at woodworking, it would be a good decision to call in a professional.


