You want to tile your basement floor, but you need to learn to level a basement floor before you can go ahead with your DIY project. How do you go about the entire task? Given ahead is the step-by-step instructions on the process.
More often than not, while indulging in a construction project for the basement, you face a hurdle that you never thought of; uneven flooring. If you want to tile your basement or even carpet it, it is important that the flooring of the basement be completely leveled and have no inconsistencies.
Having a level floor also ensures that there will be no problems of having water collect in your basement. Leveling the flooring is a weekend project that you can do yourself.
Instructions
Having an uneven flooring can be an eyesore and even in the scenario that you intend to leave your basement flooring as it is, there are chances that you would want to level it, just to make it look more appealing.
The things that you will need for the project include a broom, a dustpan, pry bar, hammer, caulking gun, concrete caulk, expansion tape, trowel, leveling compound, bucket, wheelbarrow (optional), stirrer, water, and a rake. The process of leveling a basement floor is slightly time-consuming and not as easy as it sounds.
It may, therefore, be a good idea to get some help while working on this home improvement project. Just follow the steps given here to take your project to fruition.
● The first step in this process would be to empty the basement completely. If you have been using the furniture as a place to store excess things or even furniture, then remove these objects. You will need the entire space empty to do the work you have taken on.
● Next, you will need to use the pry bar or the hammer (whichever you are more comfortable with) to remove any boards that have been attached around the perimeter of the room. If you want to reuse these boards, then just remove the nails from the board and set them aside.
● Before you can start any leveling, you will need to remove all the dust and grime that has gathered in all the time that you have lived there. Sweep the area completely and expel all the dust from the room.
● Check the flooring for cracks or holes. Before you level the flooring, you will need to fill up these. Use a caulking gun with concrete caulk to fill up the cracks. When applying the caulk, remember to follow the instructions provided by the manufacturer. Remove any excess caulk that is protruding from the surface. After this, allow the caulk to dry.
● The next step is to use the expansion tape that you have. This is to create a perimeter around the basement floor. While laying out the expansion tape, ensure that it lies at the corner of the floor where the ground and the wall create a ninety degree angle. This helps in strengthening the new surface for the floor.
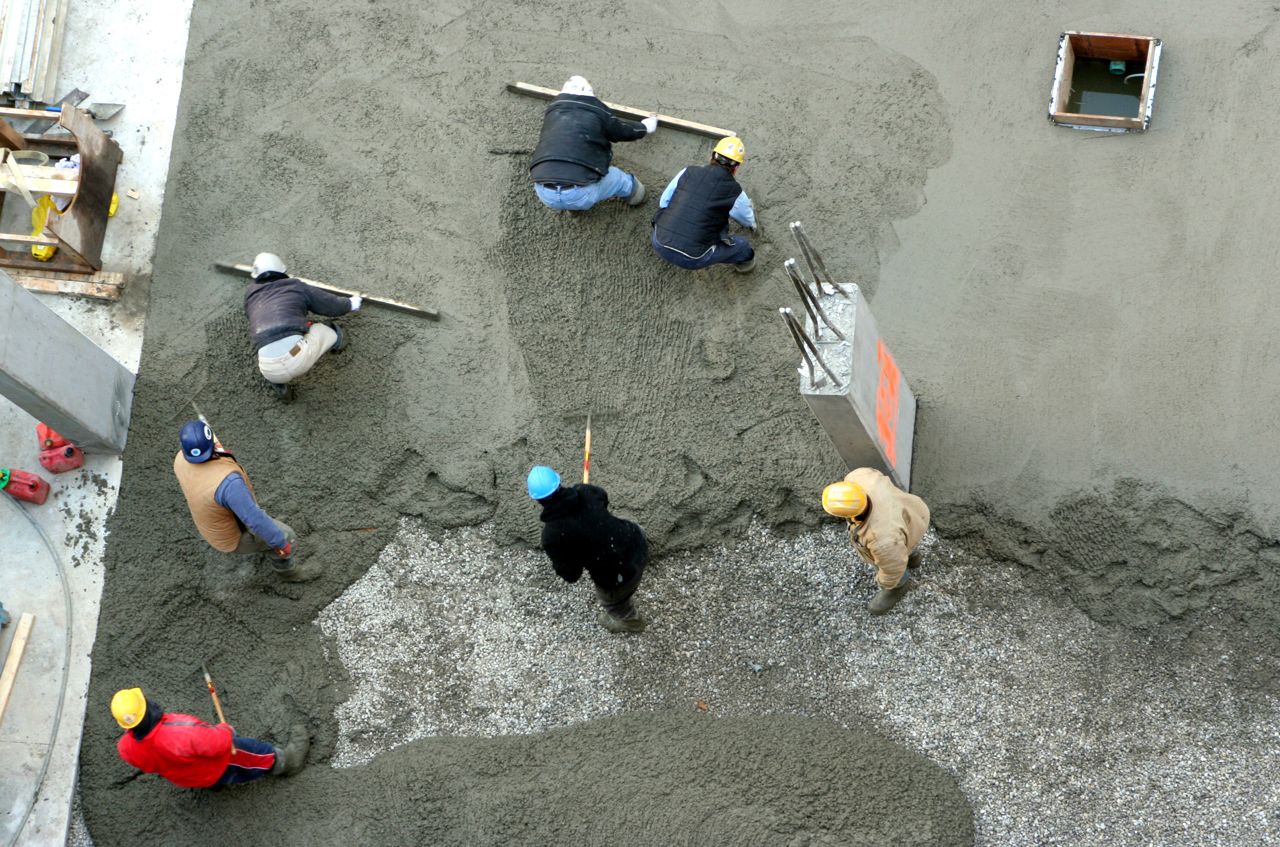
● Mix the leveling compound that you have with water, according to the instructions provided by the manufacturer. Ensure that the consistency of the compound is just right and now carefully pour it over the floor in straight lines. Be very careful while doing this.
● Using the rake, make the self-leveling material smooth and spread it properly removing any inconsistency. The compound will need many days to dry properly. Therefore, ensure that there is no movement on the floor and no one has access to the basement.
This is not very difficult but if you are confused about any step, contact a contractor for help.


