Demarcate your property, enhance the patio, or simply shut out the world with a simple brick wall. You can build your own brick wall in these steps given in this DecorDezine article.
Building a brick wall yourself can give you a sense of accomplishment, that you can not derive when you hire a professional bricklayer. However, if you have no prior experience in masonry, then this task can be pretty challenging for you. If you plan to build a brick wall, that lasts long and withstands all the climates, then it is imperative that you learn the correct technique. No matter if you are planning home construction, garden brick wall or a veneer wall, the method and the building materials required, remain the same.
Before you begin, you need to remember that building a brick wall is not a cake walk. You would have to set aside a couple of weekends for the task to be completed. You must remember that a strong wall is based on a firm foundation and this definitely is time-consuming. Before building the brick wall, you need to mark the ground with some chalk powder.
Material Required to Build a Brick Wall

- Bricks
- Cement
- Sand
- Gravel
- Bubble Level
- Trowel
- Spade
- Hook Level
Step 1: Digging Around
Dig a trench that is 300mm deep and 300mm wide, spanning the length of the area where you want your brick wall.

Step 2: Lay the Footing
Pour concrete into this trench and push it down with a post, so as to get rid of air pockets. Let the footing ‘cure’ for a couple of days. Use an old gunny sack to keep the footing covered so that it sets well.


Step 3: Lay the Bricks
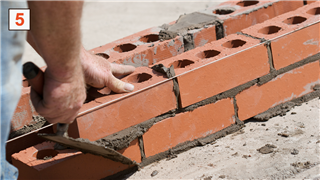
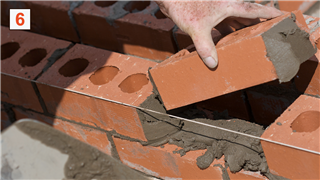
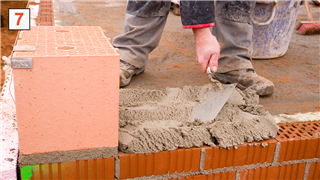
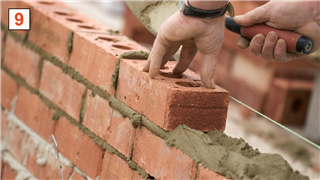
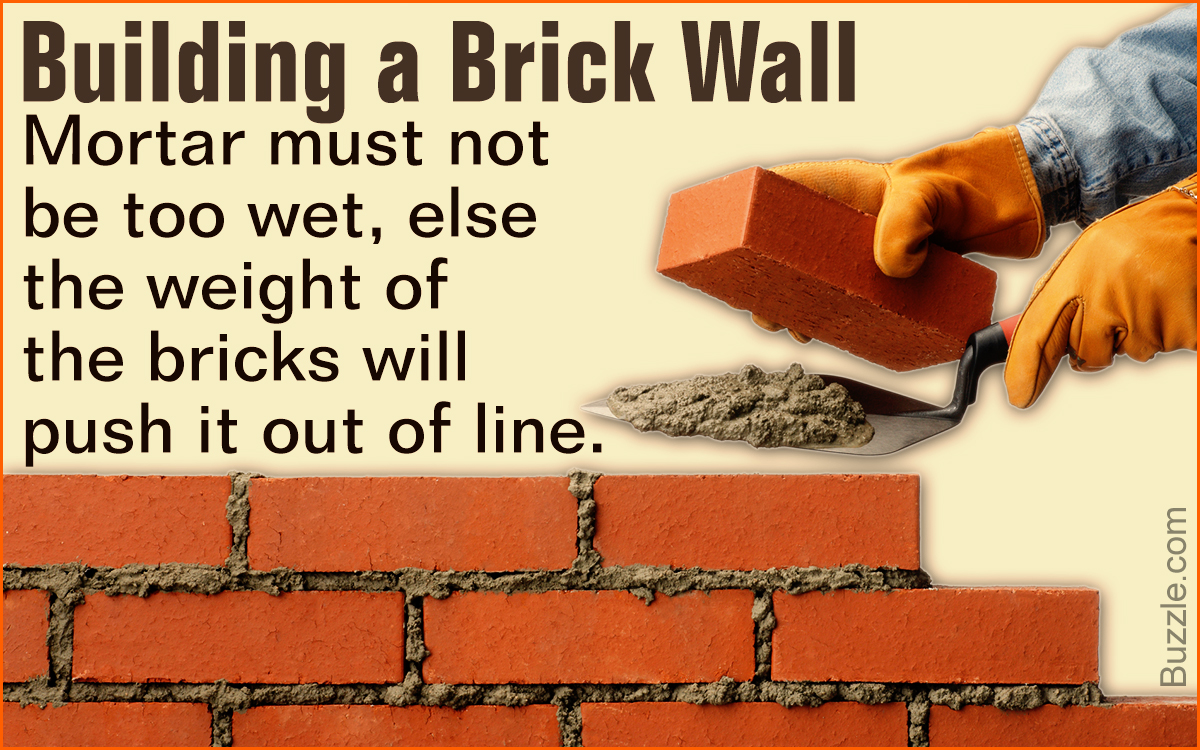
Place bricks at either end of the footing. Check the level of the bricks and hook a line so that it lines with the top of the bricks. Complete the first layer of bricks. While laying the second layer break a brick in half and place at two ends. Complete the layer ensuring the gaps between two bricks is maintained.
Step 4: Completing the Course
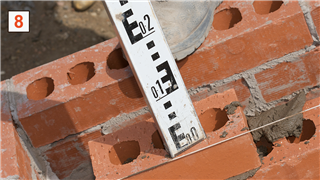
Keep a check of the level using a bubble/spirit level. Every time you start a new layer make sure you hook the line with the top of the bricks. Complete the course in a similar fashion. Remember to go from ends to the center.
Step 5: Pointing the Edges
The mortar between two layers of bricks should be pointed or shaped so that it can shed rainwater. Use the point of the trowel to point the edges in either of the three fashions – flush, concave or weather struck joint.
Step 6: Balance the Level
Stop building the wall at the height you desire. Balance the level on the wall and check the level. Allow the mortar to set and your wall is ready.

Make sure to check the level and alignment every now and then to get a straight and even leveled wall. When the mortar has set but not hardened, tool the joints of the bricks, so as to get a smooth finish. Do remember to moisten the wall till the cement filling harden up.
