Glass tiles are a wonderful way to create beautiful accents in your kitchen or bathroom. You can even do the installation of glass tiles yourself, although the process can be difficult. Read on to know more…
Using glass tiles in your home makes it look chic and stylish, and can completely transform the appearance of any room. In recent years, they have emerged as a very good way of creating a good impact in an otherwise drab room. They come in a wide variety of shapes, colors, sizes, and textures. Special handcrafted glass tiles are also available, although they are a bit on the pricier side. They can also be used as mosaics or as border tiles in kitchens and bathrooms. Generally, two types of finishes are available for glass tiles: glossy and matte. The cost of the installation of glass tiles is quite high, so you might consider installing it yourself. It is not very hard to do, though the process can be a bit tricky and time-consuming.
Instructions
The first step in installing glass tiles is to make sure that the surface on which you are going to place them is completely smooth and perfectly clean. The area should be dry and free from cracks. Also, make sure that the area that you are tiling is able to withstand the full weight of the tiles, especially if it is the ceiling.
There are two types of adhesives that can be used. One is a thin-set adhesive, which has a very strong hold and weighs a lot less than the other variety. The thick-set Portland cement can also be used. A thin-set adhesive is generally recommended, because it sets faster and is relatively inexpensive. Using a thin-set will enhance the look of the tile, because the adhesive is translucent. Avoid using materials like epoxy and mastic, because they have a low bond strength and are also prone to yellowing.
Apply the adhesive using a V-notched trowel held at a 45° angle to the surface. Take care that you apply only as much adhesive as can be employed within 15 minutes. Also, apply the adhesive as uniformly and thinly as possible, because if it is applied thickly, it might result in uneven spots and shrinkage.
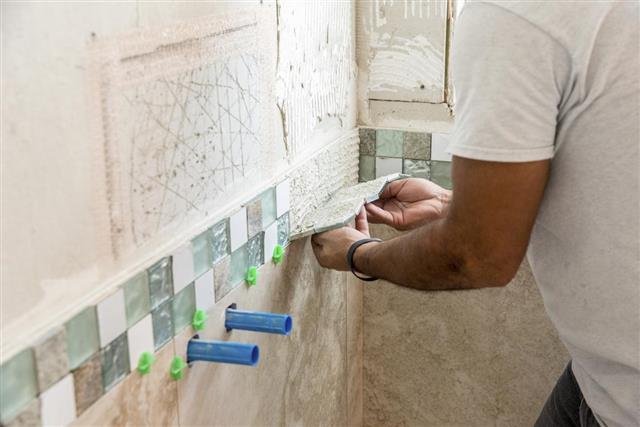
Check the tile sheet for any debris before installing it. Place the tile over the adhesive with the glass side facing you. The mesh should be placed over the surface; use a mallet or a hammer to lightly tap on a wooden block held against the tile sheet. Avoid using too much pressure while tapping with the mallet, as this may damage the tiles. If there is any excess adhesive present around the edges of the tiles, remove it with the help of a blunt knife. Let the tiles dry for at least 24 hours before grouting them.
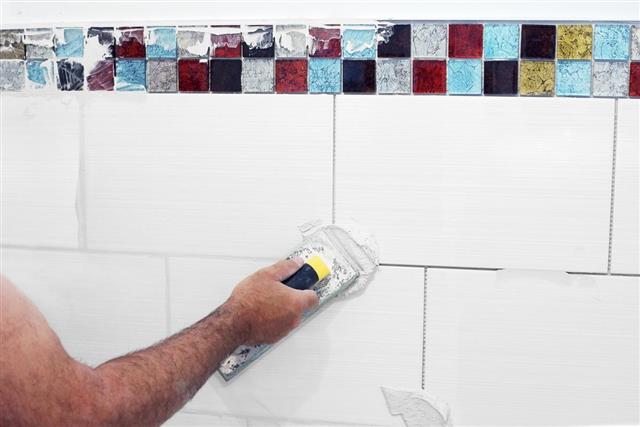
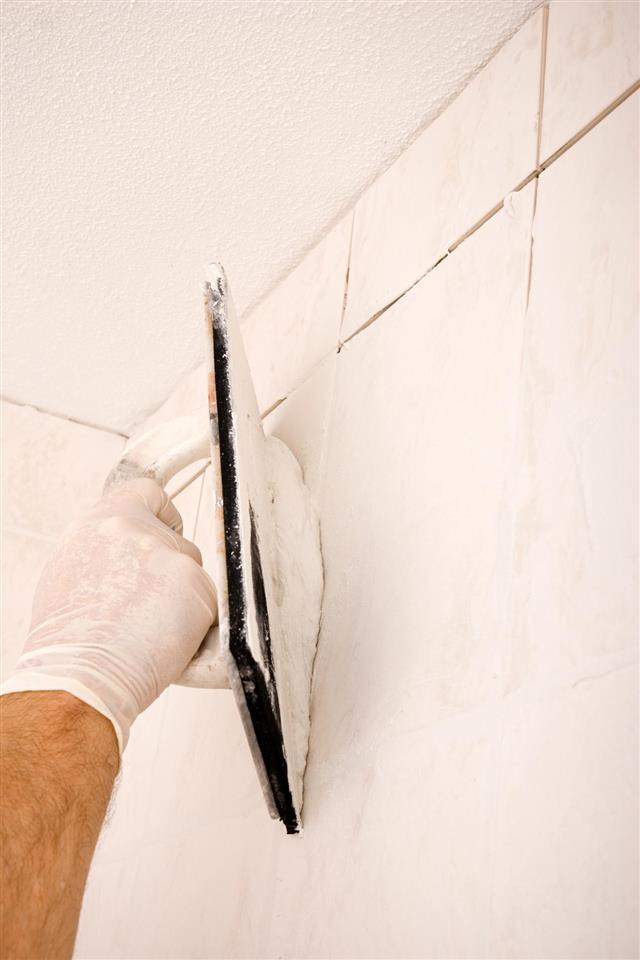
Remember to remove the transparent plastic sheet that covers the glass tiles before applying grout. Apply white grout with the help of a rubber grout float between the joints of the tiles. Remove the excess grout with a sponge after 10-15 minutes. Rinse the grout frequently to avoid smearing the tiles. After 72 hours following the application of grout, mist the tiles with water, as it aids the curing process. You might find a faint discoloration in the tiles just after installation; do not get overly concerned about this, as this discoloration can be easily removed by wiping the tiles with a cheese cloth.
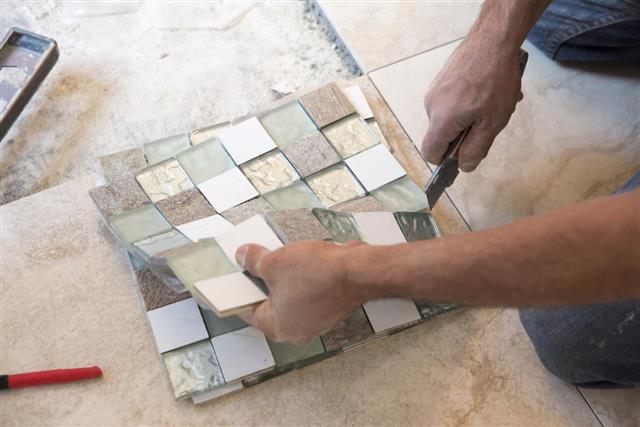
Some useful tips would be to use a special glass cutter or a wet saw if you are cutting the glass, and to ensure that the surface is level before you apply adhesives.


