As a home improvement project, installing cabinet crown molding can be quite a difficult project. But with the right tools and sufficient know-how, it can be done without any complications. Read on to know more…
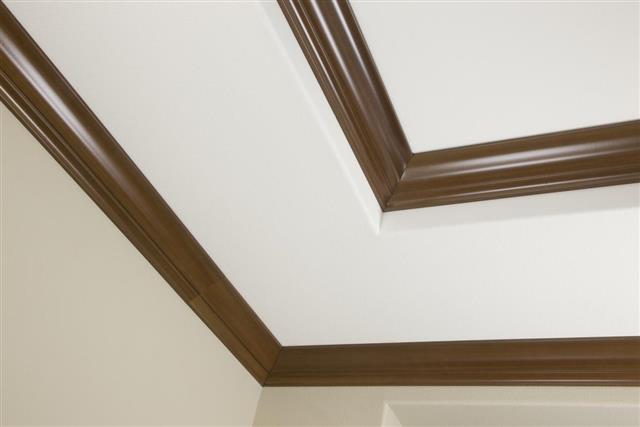
Traditionally, crown moldings were used as decorative trim in areas where the wall and the ceiling of a room met. It was helpful to conceal any imperfections in this area. Today, crown moldings are not just used in walls and ceilings, but also for decorating doors, windows, and cabinets. It gives a beautiful decorative touch to a room or a piece of furniture. Using crown moldings on kitchen cabinets is a great way to transform the look of a boring and utilitarian piece of furniture. The best thing about it is that it costs little to redesign kitchen cabinets in this manner. Crown moldings are available in a variety of designs as well as materials.
How to Install Kitchen Cabinet Crown Molding
One of the most challenging aspects of this project is that you need to cut the molding with precision. The corners of the cabinet where the crown moldings meet should be perfectly aligned; otherwise, the kitchen will look out of proportion. You also need to find the right color of trim that goes with the color of the wall and the color of the cabinet.
Things required
- Crown molding
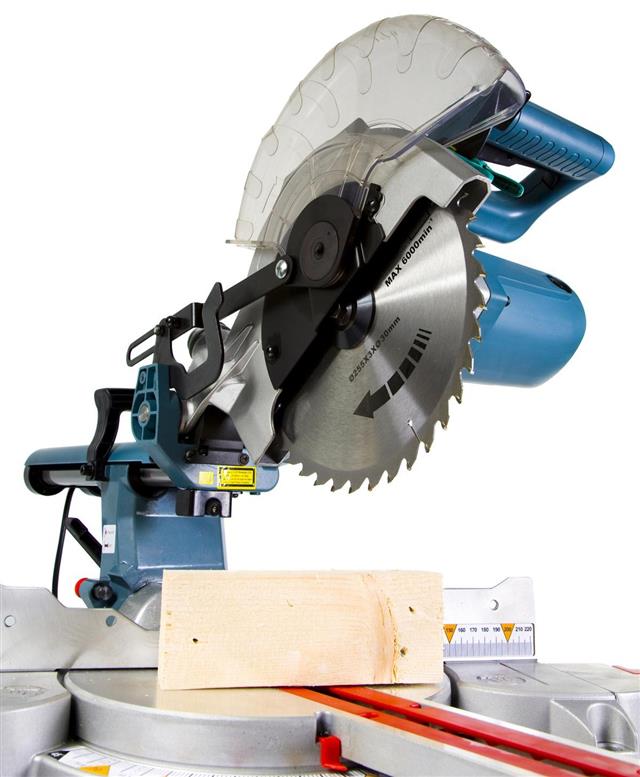
- Miter saw
- Measuring saw
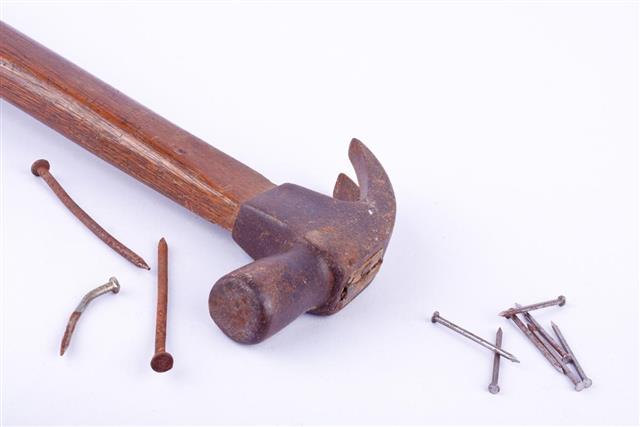
- Hammer
- Nails
Procedure
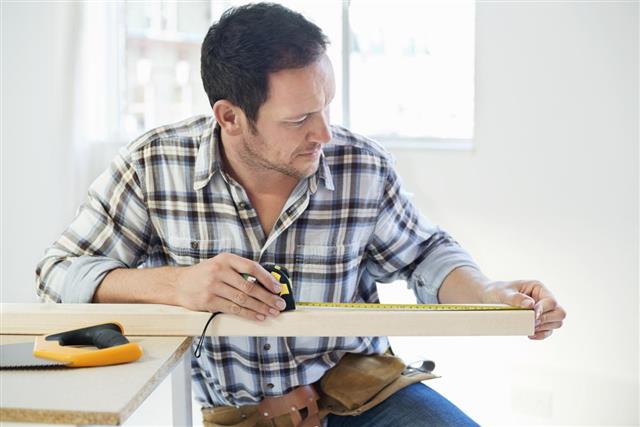
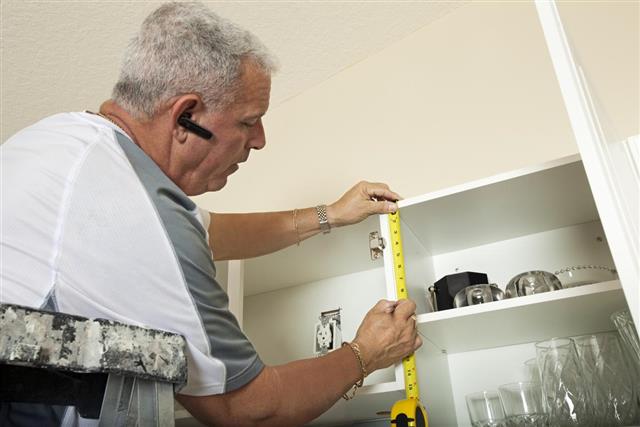
The first thing you need to do is to measure the length, width, and height of the cabinets. Double-check to make sure that you have the exact measurements. Do not make the mistake of taking approximate measurements. The next step is to observe the clearance between the kitchen cabinets and the ceiling, so that you do not end up buying crown moldings that are too wide for your cabinets. Once you are done taking the measurements, purchase the crown molding from a home improvement store. You can find it at a very low price in annual or festive sales.
Besides aesthetic points like color and design of the molding, you need to figure out how much molding you are going to need. The shop assistant can probably help you with that. Always buy more crown molding than your estimate for the project. This is a very good policy to follow, because you might make some mistake while cutting, and then you will need more molding. It’s always easier to throw extra molding away than it is to go out and buy some more.
The next step is cutting and installing it according to the measurements that you have taken. This is the most difficult parts of the project, as cabinet crown molding cuts are notoriously difficult to make. The best way to make the cut is to first hold the molding over the top edge of the kitchen cabinet, and then mark the other end. Remove the molding from the cabinet, and turn it upside down before placing it on the miter saw. Cut the molding at a clean and precise 45° angle at the marked spot. Cut the other three sides in the same way.
When you are done with cutting and are ready with all the required pieces of molding, place them over your cabinet to make sure it all fits seamlessly. If any piece needs any adjustment, do it now. Next, fasten them to the cabinet with the help of nails and a hammer. Make sure that the molding is properly fastened. In case the nail holes are noticeable, fill them up with wood fillers.
Installing trimmings such as these is a great way to add elegance and beauty to your kitchen cabinets. Good luck!
