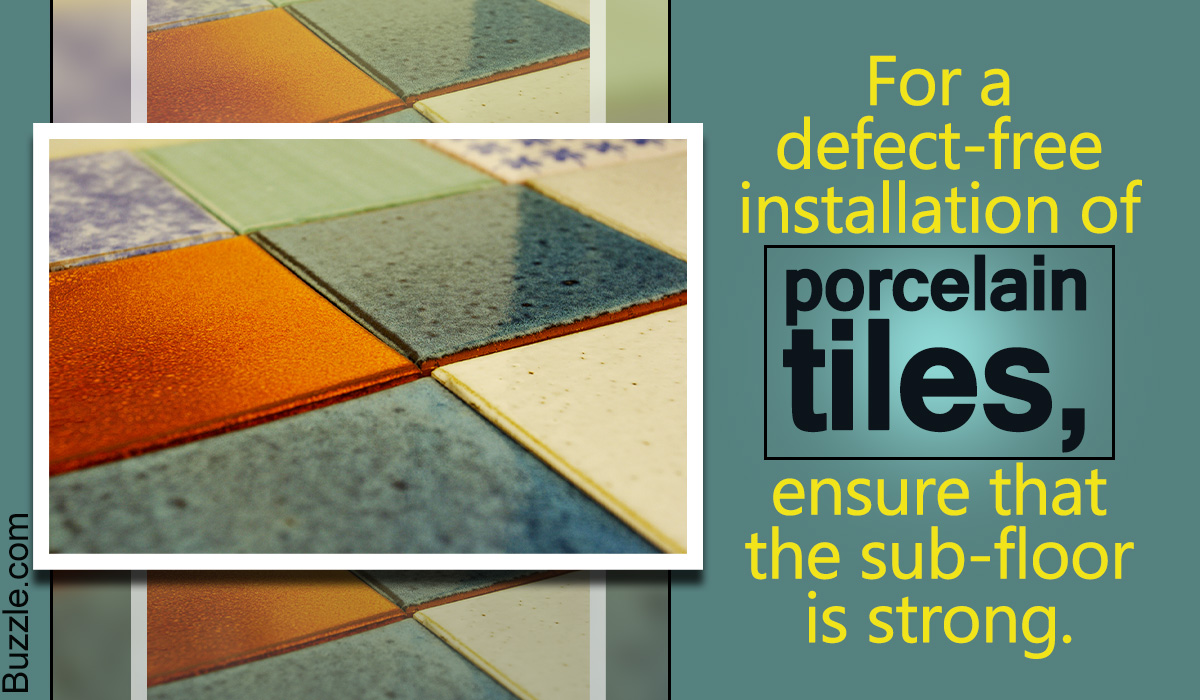
Installing a set of porcelain tiles can become quite a task if you take it up as a do-it-yourself project. Installing porcelain tiles, on your own, is a great way to save money and also enjoy the thrill of manual labor to improve your home on a weekend.


The principal advantage of installing porcelain tiles on your own is that you will end up saving on a lot of labor cost. The process is quite lengthy and might also take more than a single day. There are some materials that you will have to purchase for the purpose and there are also some tools that you will need.
DIY Porcelain Tile Installation
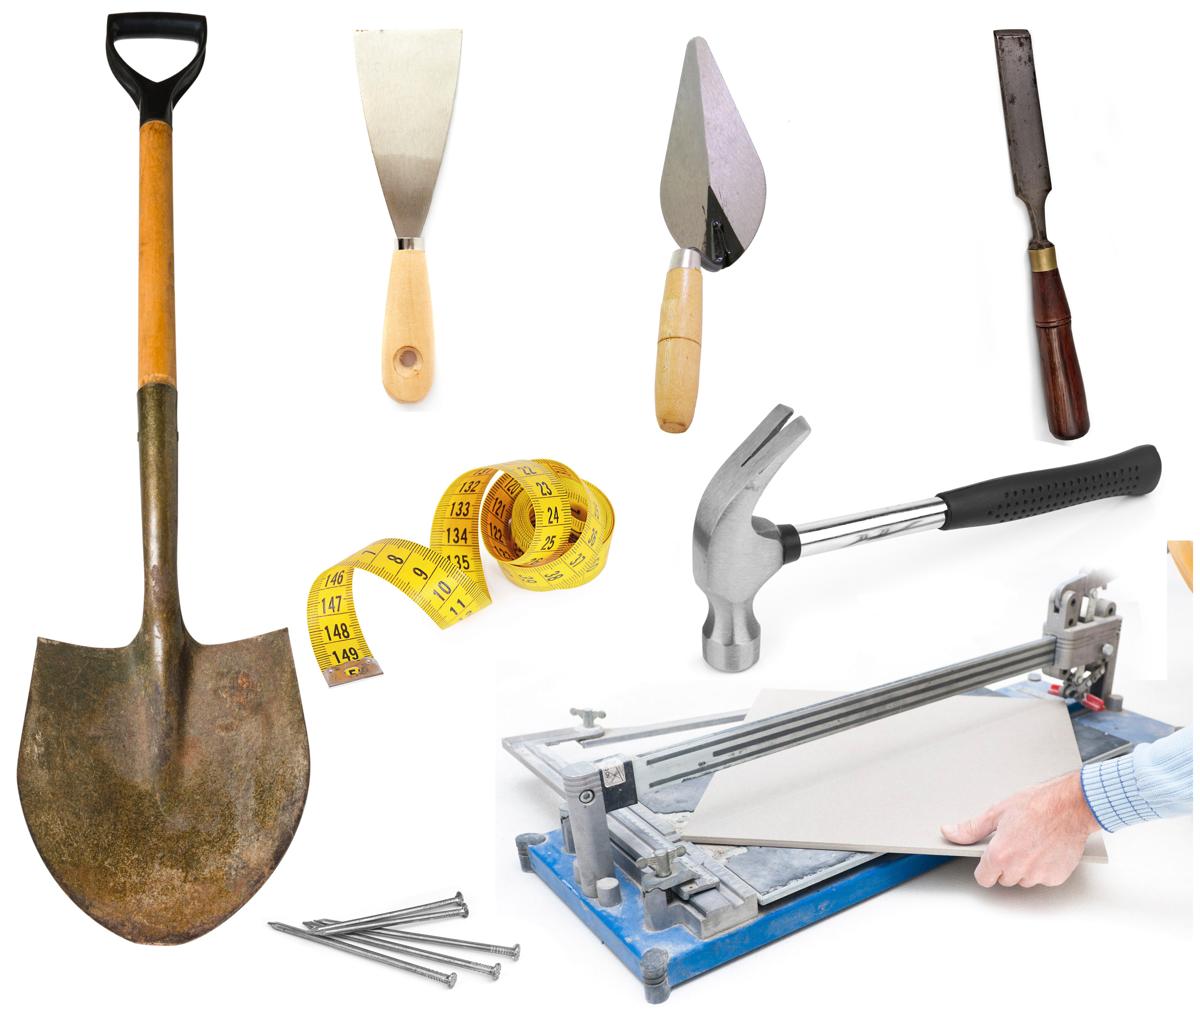
Tools
- Hammers and nails
- Wood cutter (optional)
- Putty knife
- Trowel
- Spreading shovels
- Tile chipper
- Tile cutter
- Chisel
- Measuring tape
- Level tube
- Spacers
- Mixing tray
Materials
- Porcelain tiles
- Plywood cut in appropriate dimensions (optional)
- Latex modified thin-set mortar
- Underlay material
- Grout
- Grout sealer
- Water
Steps to Install Porcelain Tiles
As mentioned above, the total process is quite lengthy and tiring and it would be advisable that you follow all the steps systematically. I would also recommend you to print out this page for convenience.
Getting Together the Equipment
The first step is to put together the required equipment and tools that are required for the entire process. The tile showroom and hardware store will be able to supply you all the materials and tools that you would be needing. When you go to purchase the tiles and materials, you can carry with you a small sketch of the room so that the sales person will be able to estimate the appropriate amount of materials and proper dimensions of the tiles that you would be needing. The sales person will also be able to give you some really good installation tips. The total installation cost, depends upon the materials that you purchase, however, make it a point to purchase the best available materials.
Preparing the Sub-floor and the Main Floor
The tiles that you are about to install, are to be placed upon a sub-floor. In the United States, the sub-floors are usually made up of 3/4″ plywood, which is capable of sustaining the load of porcelain tiles. If the sub-floor is thinner or weak, you can enforce it or replace it with new plywood pieces. It important to ensure that the sub-floor is proper so that the installation of the tiles becomes hassle free and efficient. A weak sub-floor means that you might have to take off the tiling and reinstall the flooring.
The second part of this step is to install an ‘underlay’. An underlay is basically a fiber that is laid down on the plywood along with the mortar. It basically makes a good base for the tiles that have to be laid down. There are 3 types of underlay that are conventionally used, which are:
- Cement based glass fiber
- Cement based glass incorporated
- Uncoupling membrane
The people from the tile showroom will recommend an underlay according to the specifications of the tiles, such as weight, size, density, etc. Laying down the underlay is fairly easy and all you will have to do is mix the mortar and evenly spread it out onto the floor and then spread out the underlay. Keep the thickness of the mortar as even as possible, without it becoming too thick or too thin. Let it dry for about 8 hours.
Measuring and Cutting the Tiles
The next step is to take up measurements of the room and tiles. In this process, calculate the surface area and the total area that every tile should be covering up. With help of the length and breadth, calculate the center of the room and start laying out the tiles in a mock display (do not use the mortar). When you reach the wall you will have to cut out the tiles that are going to go near the wall.
This has to be done very carefully and you may also use a system of numbering the tiles. Next use a pencil or a chalk to mark off the areas of all boundary tiles that you would be cutting off. Check the areas that you want to cut off and confirm all the measurements. The last task that you will have to do is take up the hammer and chisel and make small depressions where the boundary tiles are supposed to go inside. Cut the tiles and level them out with a tile chipper.
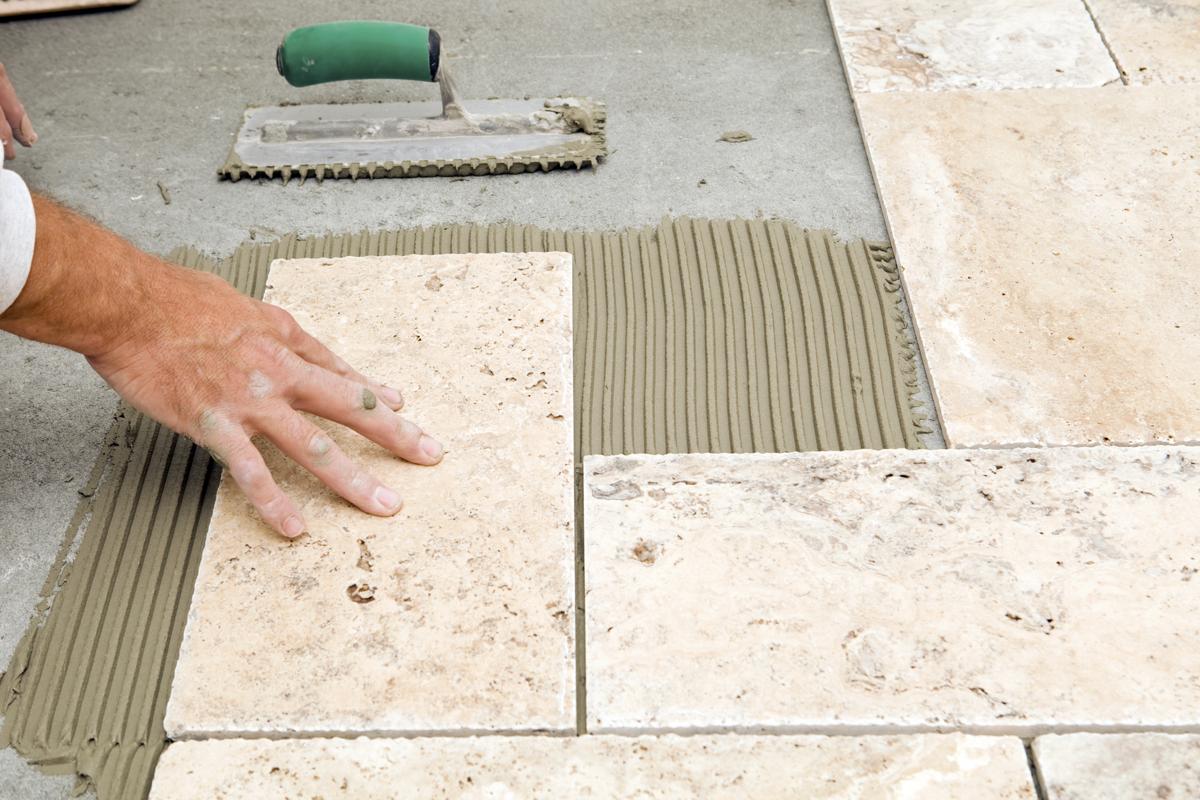
Setting in the Tiles
Next up, set in the tiles with mortar into the entire room. For this purpose, start working from the far end of the room towards the exit. Apply some amount of mortar on the underlay and some beneath the tile. Set in the tile and proceed to the next one. If you want, you can also use a set of spacers in order to keep an even distance with all the tiles. In addition to that, you would also need to use a level tube that would enable you to keep all the tiles straight and even.
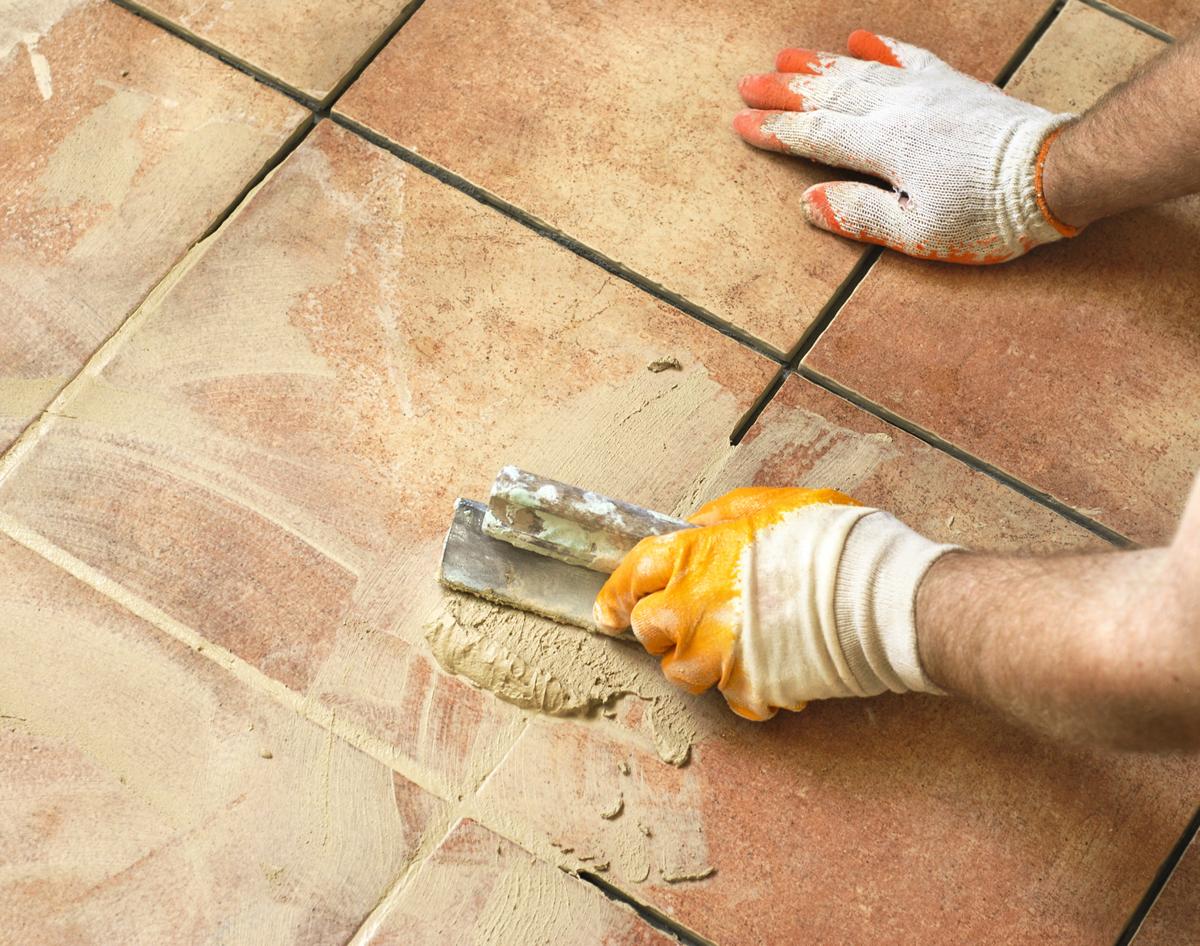
Applying the Grout
The last step of the entire process is applying the grout between two tiles. The grout is an important sealing agent that sets in the tiles. Let the mortar cure and strengthen. Next, mix that grout and apply it into the entire flooring. Let it dry for the entire day and scratch off the excessive portion that has come up on the face of the tile. After a couple of days of drying, use a grout sealer to seal of all the gaps.
The last tip that I wish to give you is never hesitate to consult the tile showroom or even the hardware store. There are several resourceful things that you will learn from a simple conversation with the sales person. For example, the sales person will recommend you a brand of mortar mixture that goes well with your tile, or he would recommend a particular brand of grout.