Sanding a concrete floor helps level its surface, and is a common practice before painting it. It is vital for the process to be done carefully. DecorDezine gives the steps for sanding concrete floors, along with the tools and preparation needed for the whole process.
Did You Know?
The insurance industry considers 1,800 grit as the smoothest finish that can be produced on a concrete floor by a grinder.
Concrete floors are durable and require little maintenance, other than regular cleaning. However, they are not without their share of problems. Some they face are, peeling of old paint, cracking (causes tripping), floors being too hard for human feet, warping in newly-poured concrete, and uneven floors with bumps and depressions, to name a few. Also, installing tiles, carpets, or hardwood flooring on a concrete floor requires it to be completely flat.
The solution to all the above problems begins with sanding or grinding the concrete floor. This is the first step in repairing or refinishing a floor, and involves the removal of the topmost layer of concrete. The end result is a level floor with a sleek, glossy look, in contrast to the boring, gray appearance of ordinary concrete.
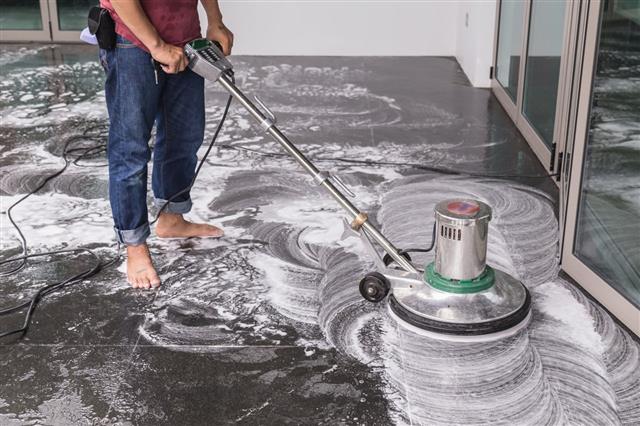
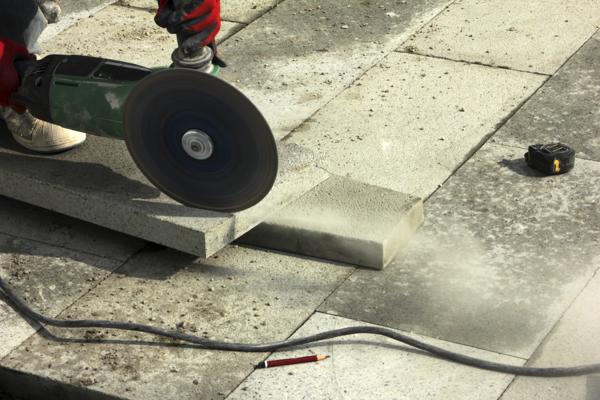
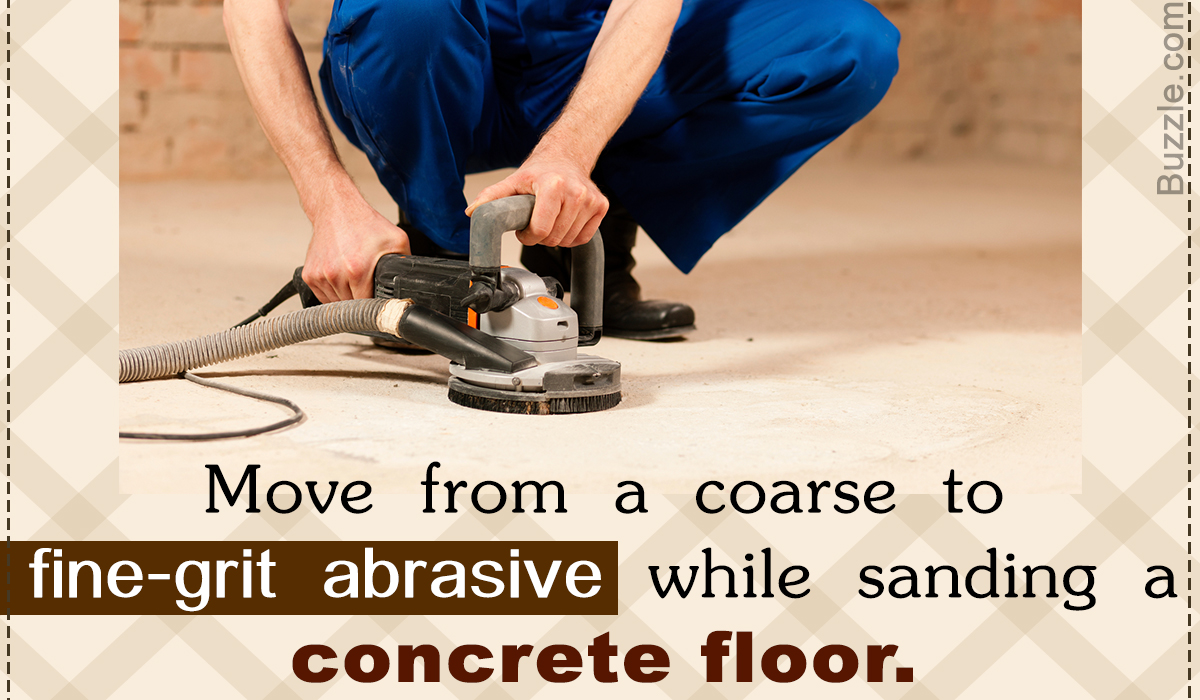
Concrete sanding is commonly performed using a device known as a floor grinder. It uses a steel disc fitted with diamond tips that uses the weight of the machine to press it firmly on the floor. The machine is powerful enough to damage the floor if not used carefully. Here’s the correct method for sanding concrete floors.
Tools Needed
Floor sander with coarse to fine-grit sandpaper
Floor grinder with coarse to fine-grit grinding discs
Hand-held grinder
Epoxy resin
Plastic sheeting
Duct tape
Personal protective equipment
Mop
Steps
Preparation
- Before you begin, shift all the furniture to another room to keep it away from the dust.
- Clean all the dust and debris from the floor by sweeping or vacuuming.
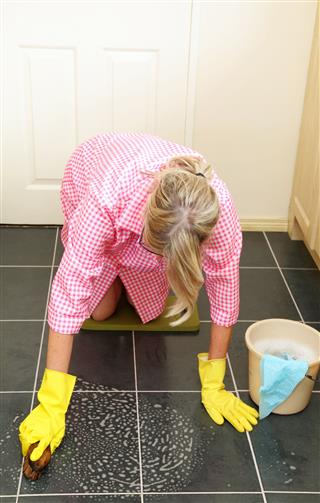
- If the floor is greasy, scrub it with soap solution, and allow it to dry for a couple of hours, or you can dry it with a cloth too.
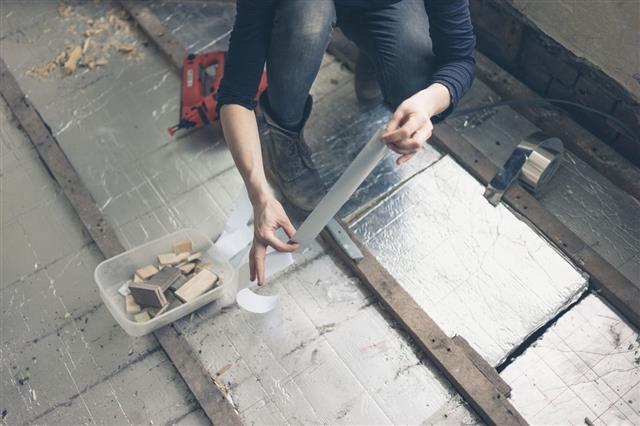
- Cover the walls, doorways, vents, and electrical outlets with plastic sheets to keep dust from getting inside them. Secure the sheeting with duct tape.
- Finally, put on a breathing mask, rubber gloves, earplugs, and protective glasses, to protect yourself from the debris generated during sanding.
Equipment Selection
You can use either a floor sander, pole sander, or a grinder, depending on various factors like the size of the floor to be polished, availability of time, budget, and the skill of the operator.
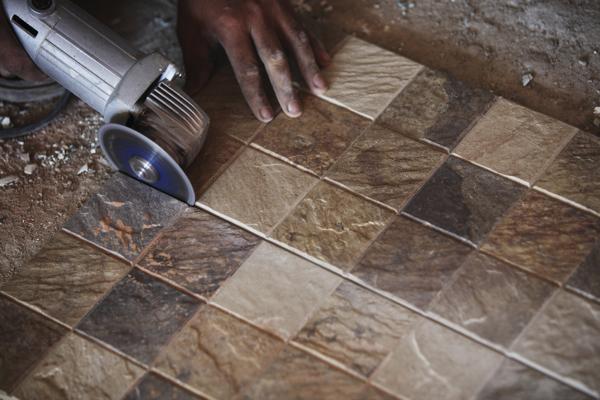
If the floor area is large, then you can use a grinding machine for the main floor, while the corners and other inaccessible areas require a hand-held grinder. Using a grinder requires previous experience, as it contains a fast-spinning metal disc which can easily damage the floor.
A sander should be used when light polishing is required, whereas, a grinder is used for smoothing a highly uneven floor, owing to its high power.
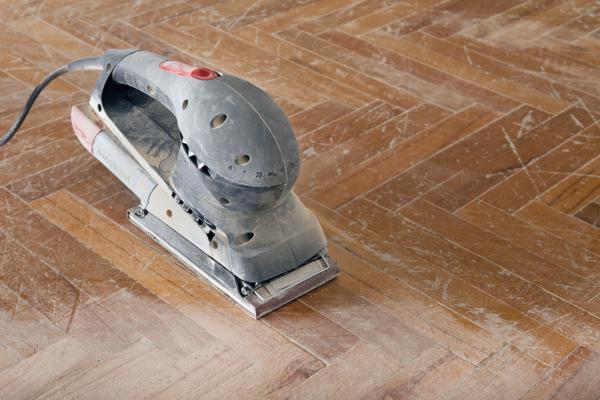
One can use either a palm sander, pole sander, orbital sander, or belt sander for polishing a small area, especially when the floor doesn’t need major re-leveling. A pole sander is nothing but a long pole attached to a base that holds sandpaper. Obviously, compared to the other two methods, this will be the most gentle on your floor, making it ideal for DIY tasks.
Process
The principle to follow is to use a coarse disc or sandpaper at the beginning when the floor is first sanded to remove major abnormalities. From then on, use progressively finer abrasive, as the focus shifts on polishing, rather than re-leveling.
First, consider the equipment you are about to use. Most floor grinders and sanders come in two varieties; wet and dry. For wet sanding, the floor needs to be wet, creating a waste slurry as the sanding progresses, and such devices have a facility to collect the slurry formed. An advantage of this method is that, much less dust is created, though the slurry can be messy and creates problems on hardening.
Most operators perform sanding using the dry method, while the final polishing is done on a wet floor. Connect both, the grinding machine and the hand-held grinder to a shop vacuum, so that dust generated during grinding is immediately sucked up.
Fit a metal disc or sandpaper of the 30- to 60-grit range, and begin sanding the floor systematically. It is a good idea to divide the floor into a couple of zones. Make one pass over each, before turning around, and make a second pass backwards, and from side-to-side to ensure even grinding. Each pass should overlap the adjacent pass by about half its width.
Sand the edges using a hand-held grinder fitted with a 30- to 60-grit disc. If done well, the passes of the larger grinder should merge with that of the hand-held grinder.
At places where the floor has bumps, make multiple passes to smoothen it out. Do not keep the machine stationary for too long at one spot, as the edges of the disc can leave etch marks.
Fill cracks and narrow depressions with epoxy resin, making sure that it is flush to the concrete floor, so that further sanding is not required to re-level them. Allow the resin to dry before resuming the sanding operation.
Apply an even coat of concrete sealer to the floor before resuming the sanding on the wet floor, using a medium-coarse abrasive in the range of 80 to 120 grit. Make sure that the sealer penetrates the floor for as long as instructed by the manufacturer, before you resume the operation.
Periodically mop the floor with clean water to remove any residue created due to polishing. Replace the abrasive with progressively finer finishing pads until you finish sanding with a disc of 1,500 grit or higher.
After the sanding is complete, inspect the floor for any traces of paint or irregularities. Mop the floor clean and allow it to dry, before applying a new coat of paint, if desired.
The trick for a perfect sanding job is to know when to shift from a coarse-grit abrasive to a finer grade. Most professionals know which grade of abrasive is required just by looking at the floor. So if you are not sure about what needs to be done, don’t take the risk. Call in an expert.

