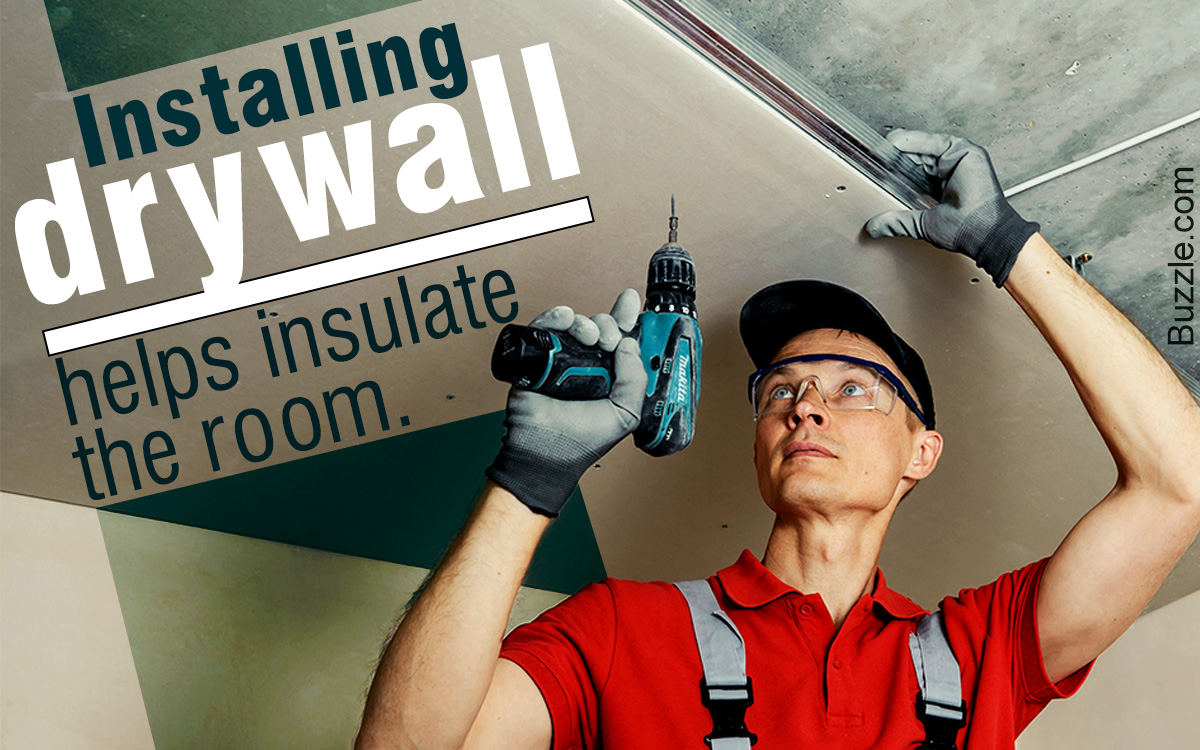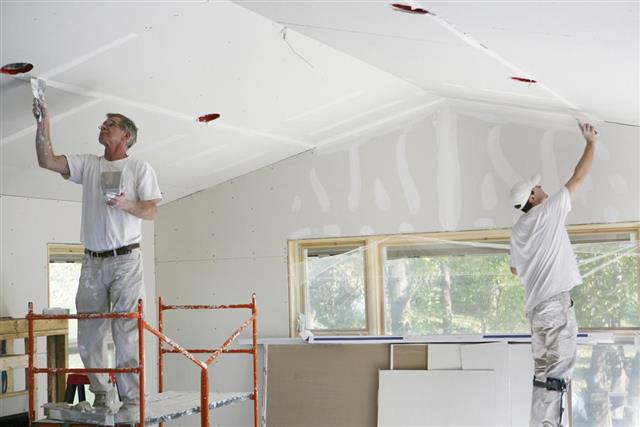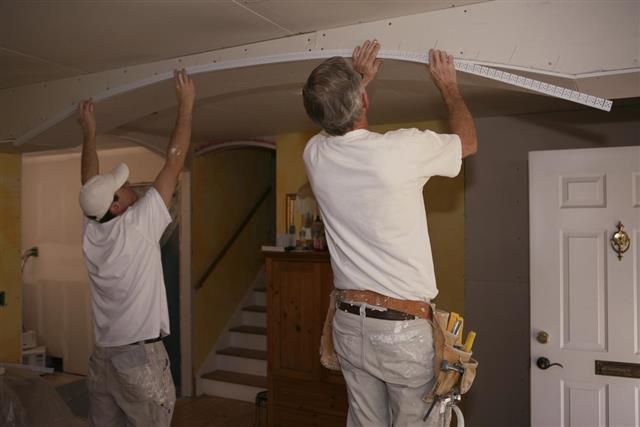
To install drywall ceiling, you do not require any technical skills. However, you have to put in a lot of physical effort for this. In this DecorDezine article we have explained the process of installing this ceiling in the most simplified manner.
One of the best ways to cover up the electrical wiring, studs, piping, and cracks on ceilings and walls is by installing a drywall. It has other advantages too, like helping to insulate the room and also enhances the interior decoration. The only problem with this home improvement job is its overhead position, therefore, we advise you to take the help of one of your friends or family members when you are installing a drywall ceiling.
Step-by-step Instructions
Take measurements of the room and calculate the number of sheets you require. Try to keep the size of the sheets as large as possible. Thus the number to be installed will be less and there will be less number of joints. As a result, you can finish off the work quite fast. The step-by-step instructions are as follows:
Step 1
Before the drywall is installed, you have to ensure that the surface of the ceiling is well prepared. Check for any obstructions like protruding pipes. Accordingly, furring strips need to be installed so that the surface remains flat after installation.
Step 2
Start hanging drywall sheet from one corner of the ceiling, by positioning the first sheet lengthwise on the joist. For your convenience, you can use a lift for this purpose or ask your friend to hold the other end of the sheet. Fasten it to the rafter with the help of the screws keeping a gab of about 6 inches from each screw. Make sure that the nail head just dimples the surface paper and does not break it. Keep installing the sheets in the same manner till the entire ceiling gets covered.
Step 3
Once all the sheets are installed on the ceiling, it’s time to tape all the joints formed. It is advisable to use an adhesive based fiber glass tape, as it will help finish the task of taping at a much faster speed. Measure the length of each joint, cut the tape as per the length, and press it gently with a knife along the entire joint.
Step 4
After taping, it’s time to apply joint compound or mud over the joint tapes and nail heads of the drywall ceiling. Use a good quality joint compound for this purpose. Prepare the joint compound in a tray and apply it over the taped joint with the help of a knife, in a uniform layer. For the each of the screws take a small amount of mud and cover the entire screw hole properly. Do not use excess mud as it will form ridges on the surface. You have to apply at least 3 coats, but only after each coat dries completely. Usually it takes around 24 hours for each coat to dry.
Step 5
The final step involves sanding of the joint compound. Make sure you start this task only after the compound is cured thoroughly. Run your fingers over each of the seams and screws, to identify the rough areas and sand those surfaces to make them smooth. If you find any ridges have formed, remove them with the help of a knife. Wipe off the sanding dust with a clean piece of cloth. Wait for another 24 hours before you apply the first coat of primer.
There are different varieties of drywall available. Some of them use special materials that are fire rated while others are insulated or water resistant. In some areas, building codes and regulations permit use of only fire rated material. Check out if your area has any such restrictions before you install a drywall ceiling.


