If there is an unfinished business in your basement and you need some basic techniques on framing a basement, perhaps look no further in your search for websites to shower you with correct data on this subject. This DecorDezine article walks you through the basic steps and few techniques to do the needful.
Sometimes, it’s not only the main appearance of a house like the kitchen, the living room or the bedroom that matters in terms of esthetics. If you have a house which has a spacious attic and a basement facilitating an excellent storage and utility area, giving some forethought towards its improvement can turn out to be an excellent home improvement plan. Setting up a basement in the most versatile way is like creating an extra living space right under your house. A finished/renovated basement definitely increases the value of your house and invites it to be just like the rest of the rooms in your house.
If the basement is in a proper shape and condition, a homeowner can consider to convert the basement into an entertainment room for kids, a workout area or a room for carrying out laundry. Depending upon the size and activities of a family, a basement can be used for various purposes. If a homeowner plans to carry out the basement framing job on his own, the business can be a bit tricky at first.
Tips and Techniques for Framing a Basement Wall
Before we delve further into this article to discuss a few simple steps for setting up a basement, the following content below showers you with some basement framing techniques to ensure you that you carry out the job correctly.
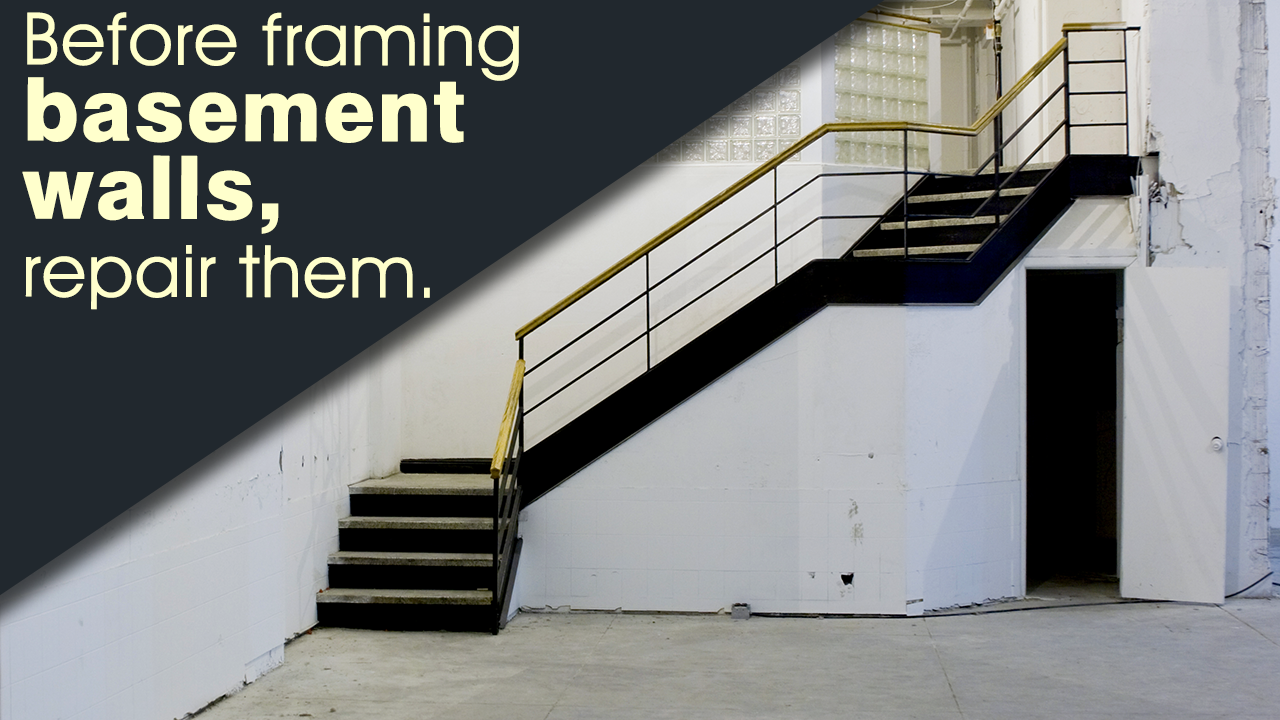
- The first possible step to take towards basement framing is to properly check the condition of the entire room. Make sure it is free from any plumbing issues like leakages, moisture or seepage problems. Repair the basement walls and then proceed further.
- The second most important step in framing is to design the layout of the wall in the basement. To do this, one has to ensure that the floor joists in the ceiling are properly aligned along with the wall studs. Also, take one look at the ground floor joists to ensure its correct position.
- Next, work with materials like chalks to mark lines on the flooring to place the wall. Use treated lumber to avoid moisture problems and use them of size 2” x 4” for creating floor plates.
- For installing the ceiling plates, use lumber of the same size, i.e., 2” x 4” and install it directly above the floor plates.
- Use a tool like a screw gun to bolt the nails and screws to fix the plates.
- Wall studs is another aspect which is of prime importance while framing the basement. The wall studs must be fixed at 16” at the center. The alignment of the wall studs should be effected after doing all the math, i.e., a proper consideration should be done regarding wiring, plumbing and basement ventilation.
- It might happen that if it’s a basement of concrete flooring, there can be certain leveling issues. Thus, first measure and then cut the wall studs respectively.
- Lastly, in this section of tips and techniques, one important consideration to make is, keep a considerable gap of about ½” in between the existing concrete walls and the newly framed walls built in the basement. The reason for such a demanding construction is, there will be minimum chance for moisture to form inside the concrete walls in turn preventing the dampening of the wood.
Undergoing a procedure of renovating a basement not only adds to the good looks of a room but also provides facilities of concealing electrical, plumbing and HVAC service components present in the basement walls.
How to Frame a Basement
Materials
- 2” x 4” and 1” x 4” lumber
- Hammer Drill
- Masonry Bit
- Hammer
- Masonry Screws
- Nails
- Chalk Line
- Foam Insulation
- Concrete Sealer
Instructions
Step 1: Measure the Room and Secure the Foundation Walls
As we all know, basements are located at an underground place are much cooler and damp compared to the home above. So before framing the basement, apply cement sealer to the floor and walls of the basement. Once everything is dried out, mark the lines with a chalk in your room and begin measuring the length of one wall first and slowly move to the next one. Also, measure it diagonally for making sure that the room is square in shape.
Step 2: Install the Floor Plate
Catch one corner of the wall and lay the floor plate of your frame. Next, use 2” x 4” lumber to lay it on the floor and secure the same with masonry screws. Cut the plate at the point where your door will start.
Step 3: Install the Top Plates
Cut out the top plate that matches the length of the bottom, hang a plumb line and align them altogether. Secure the 2” x 4” lumber to the top of the plate and fasten the nails to the floor joists.
Step 4: Framing the Room
Utilize the 2” x 4” lumber for framing the room and make sure it’s not on the concrete wall. Place the studs at the 16” centers and fasten the nails by toe nailing it to the bottom and the top plates. Don’t forget to frame the door with a top sill at an appropriate height.
Step 5: Install Foam Insulation
This is the final step in framing the basement. All you have to do is set up the foam insulation boards to the concrete walls. Using a utility knife, cut them to the desired width and height and straighten the edges if required. Apply it to the wall with an adhesive and leave it until it dries completely.
Framing not only includes framing of walls, but has a lot of other factors like electrical wiring of fans and lights and concealing air conditioning and heating applications in a duct. With so many factors to make a note about, I suppose, the framing process isn’t that tedious!
