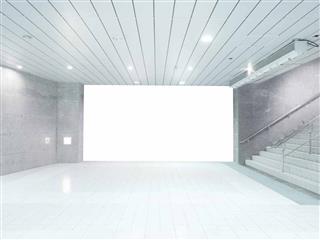
Creating a whole new look for your basement can be easy by installing wall panels. Just take up a DIY project and you will be surprised by how different your basement can look.
You have always imagined your basement to be the perfect space to create that entertainment area that you always wanted but you are unsure of how to start the process of remodeling. Well, one way to do that would be to probably make your basement a little more livable and you could start that by adding panels to the walls. Not only will this completely change the appearance of your basement but also convert it from a dumping ground for old things to a comfortable living space.
Installing Wall Panels
These DIY projects are not as difficult as they seem to be, provided you follow a few, simple tips. Along with providing the basement a look that you have always wanted, it can also provide your basement with the insulation that it needs to protect you from the rigors of the climate. You can nail wall panels directly on or even choose to stick them on, which makes it easier to work with than drywall. Just follow the simple steps given below.
- The first and foremost thing that you need to do is to prepare your basement so that you can install the panels. Clean the basement and remove any furniture or accessories on the wall. It is important to ensure that the walls are clean and dry before you install the panels.
- Next comes the process of starting to install the panels. You need to make the correct markings on the wall panels so that they can be cut properly. The height of the wall panels will be the same as the height of the basement. You will need to account for things like electrical outlets and door frames. It may be a good idea to note down where the panels need to go in the basement. Label the back of the wall panel with a pencil to note the location.
- Next you will need to cut all the panels. Use a saw to do this. Ensure that the holes that you create for the electrical outlets are smaller than the face of the outlet so that the face will cover the hole when it is screwed over again.
- When you start paneling the wall, start with a corner. Drill holes on each end of the panel at a distance of about 16 inches from the edges. Also make two holes on the inward edges. Drill a concrete screw to fix the panel to the wall.
- Repeat this step with the next panel, till you cover all the walls with the panels that you need to install. Now you can fix the molding and the baseboards with self-taping screws that need to be placed every six inches.
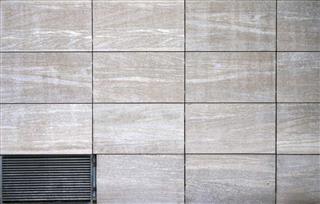
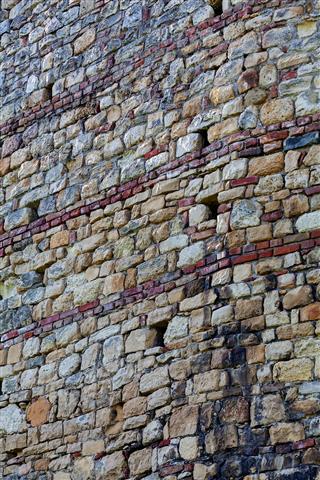
There are many different styles in which these panels are available. Other than the screw-on style of panels that we have talked about here, there are also panels available in the market that come with an adhesive side that can be just stuck on the walls. You will find panels that resemble plywood, drywall, paneling, or even particle board. Decide on the look that you want for your basement and go ahead with the design change.
This instructional on how you can make basement wall panels has hopefully helped you in understanding how easy a basement finishing project can be. So, if want to change the look of your basement or just need extra space in your house, then starting by installing panels in the basement may just be the right way to go about it.
