Tiles are an excellent way to cover up your ceiling, and they also brighten up the overall ambiance of the room. Installing ceiling tiles is quite a challenging task, although you can do it yourself at a considerably low cost.
Everybody must be familiar with floor tiling, but installing ceiling tiles is a wonderful way to change the appeal and impact of a room completely. It is also a very good choice if you are remodeling an older house with an uneven ceiling. Different varieties, textures, and sizes of tiles are available in this class. You can opt for ceramic, tin, acoustic, or fiberboard tiles. Many manufacturers also stock special fire-resistant tiles, which are made by adding some particular chemicals.
How to Install Ceiling Tiles
Before installing, decide and deliberate on the kind of tiles that you want: acoustic, ceramic, or fiberboard. They comes in two basic sizes: 12” by 12” and 12” by 24”. Now decide how you would like to install them. The most common method is to use adhesives, staple pins, or nails to attach them to the surface of the ceiling. Alternatively, you can also install metal grids with clips to hold the tiles in place. This is a very time-consuming and labor-intensive process, so it is better to use adhesives. If the ceiling is uneven or has exposed joists, you will have to nail furring strips to the ceiling before installing the tiles.
The next step is to carefully measure the distance, wall-to-wall, on the longer side of the room. If the length is a whole number, then you do not need to cut any tiles. But if the length is a whole number plus some fraction, just add 12 to the number of inches remaining, and then divide this number by two. The number that you arrive at should be the width of the border tile. For example, if the length of the room is 12’4”, then add 12 to 4, which is 16, and then divide it by 2, which gives us 8. Thus the width of the border tile should be 8”. Take the measurement in the same way, on the other side of the room.
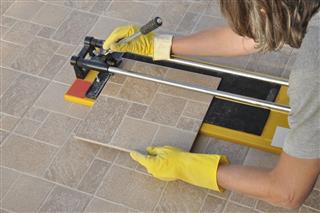
Start installing the tiles on one side of the room. Cut the border tiles according to the previously explained measurement, and file down the corners so that they fit together perfectly. Now check the condition of the ceiling, and look carefully for any flaking paint or seepage as the tiles will not adhere to it if that is the case. Test the surface by installing just three or four tiles at different places, and wait for 48 hours. If the tiles have properly adhered to the ceiling and there is no dislocation at all in any direction, then your ceiling can withstand the weight of the tiles without adverse consequences.
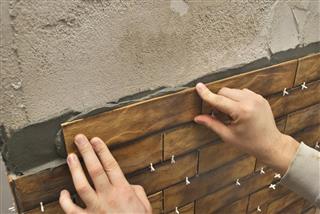
Now draw a line, using a chalk, along each side of the room. Use these lines as a reference to make tiles perfectly parallel on the first row of the border tiles. Apply adhesive or cement on four corners of the tile, about 1 inch from the edges, and also in the center of the tile. Place the border tile in the corner, aligning it with the chalk mark. Carefully install all the border tiles along the edges of the ceiling, and then begin filling up with the full-sized, regular tiles. You can also install a border molding to give a finished and neat appearance.
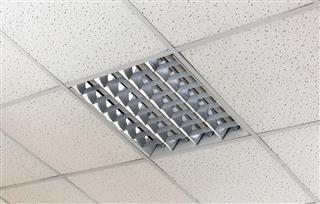
Suspended ceiling tiles is a very good option in those homes that requires concealing ducts, pipes and cables. A suspended ceiling not only looks elegant, but also acts as a sound absorber, and can be easily modified. This process does not cost a lot, and it is an effective way to jazz up the look of a room.


